
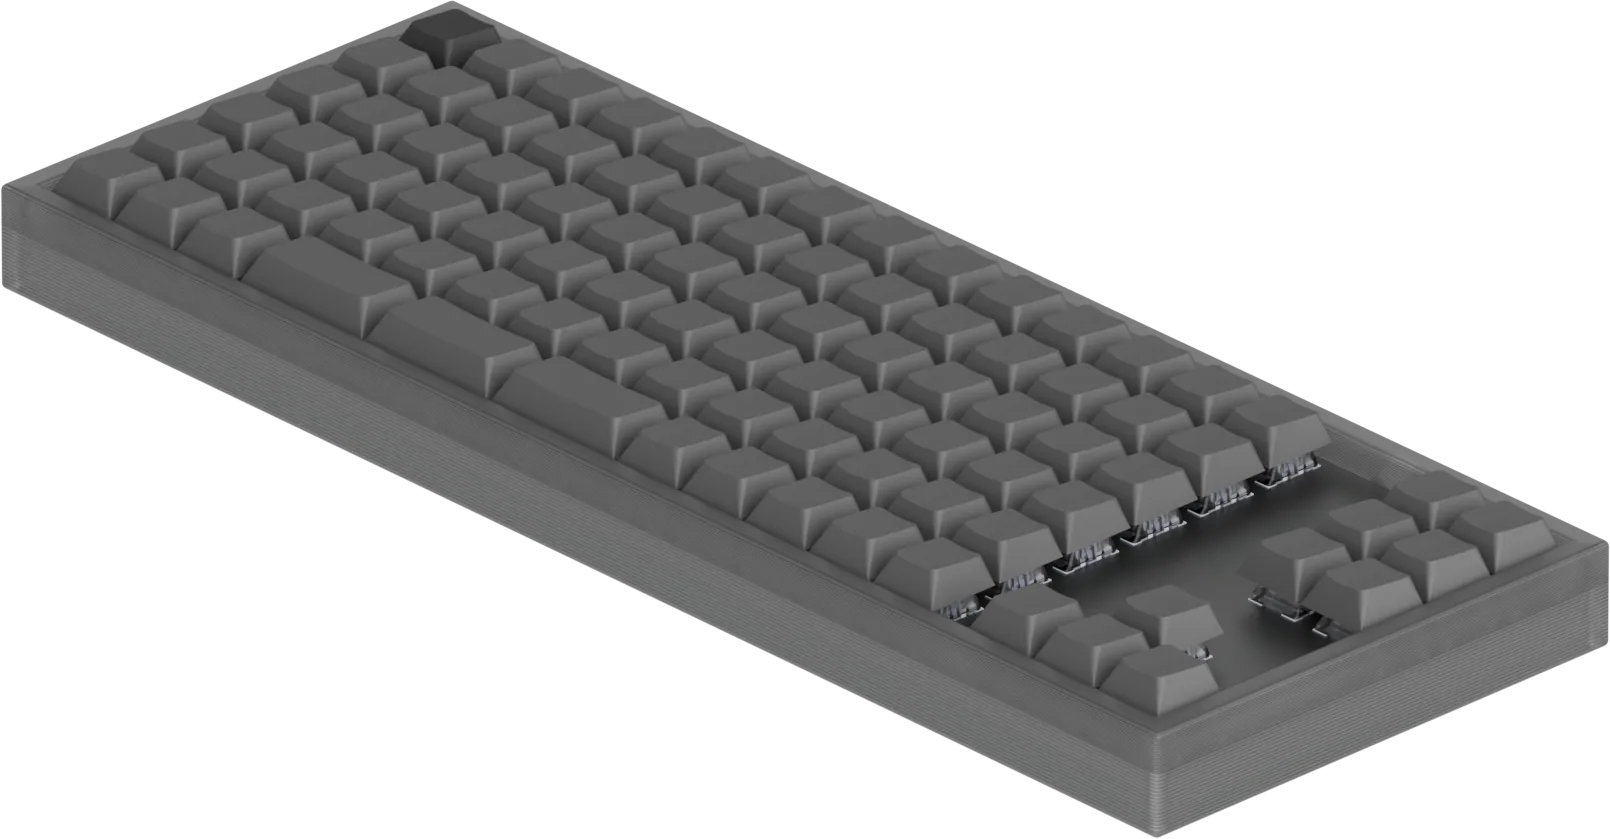

A fully functional mechanical keyboard - custom PCB, custom case, custom firmware - from scratch. If you can hold a soldering iron, you can do this. The guide covers everything from schematic to typing.
We suggest a 60% or 65% layout if this is your first time.
What you need
~$60 total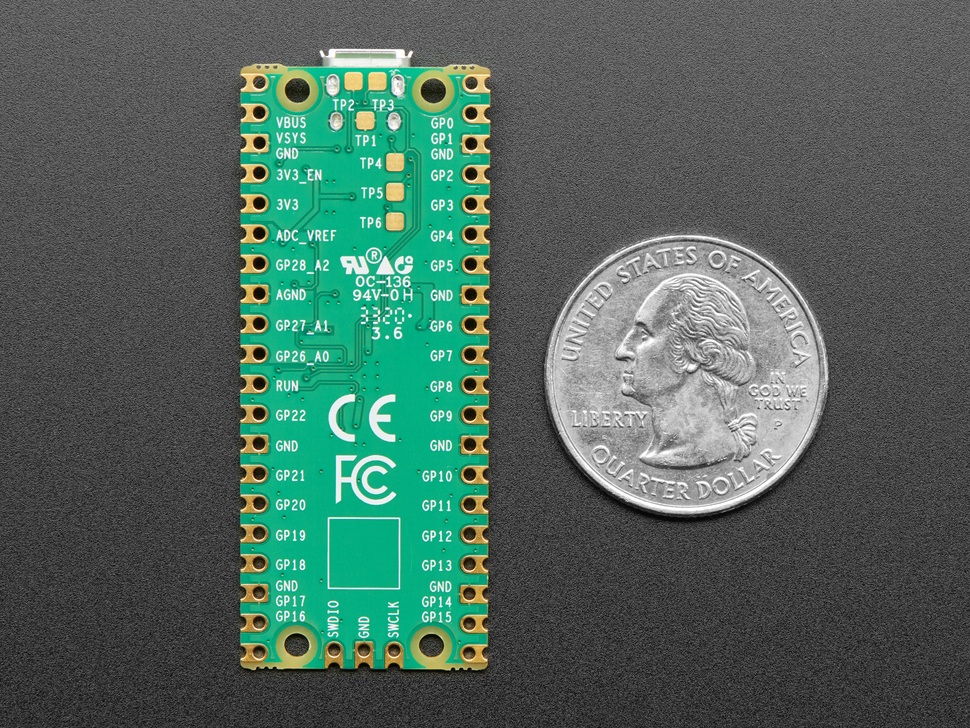 Raspberry Pi Picothe MCU - reads the matrix and speaks USB1× · $4
- MX-style mechanical switcheslinear, tactile, or clicky - pick a feel you like61× · $20
- Keycaps (DSA profile)every row is the same height, so one set fits any layout61× · $15
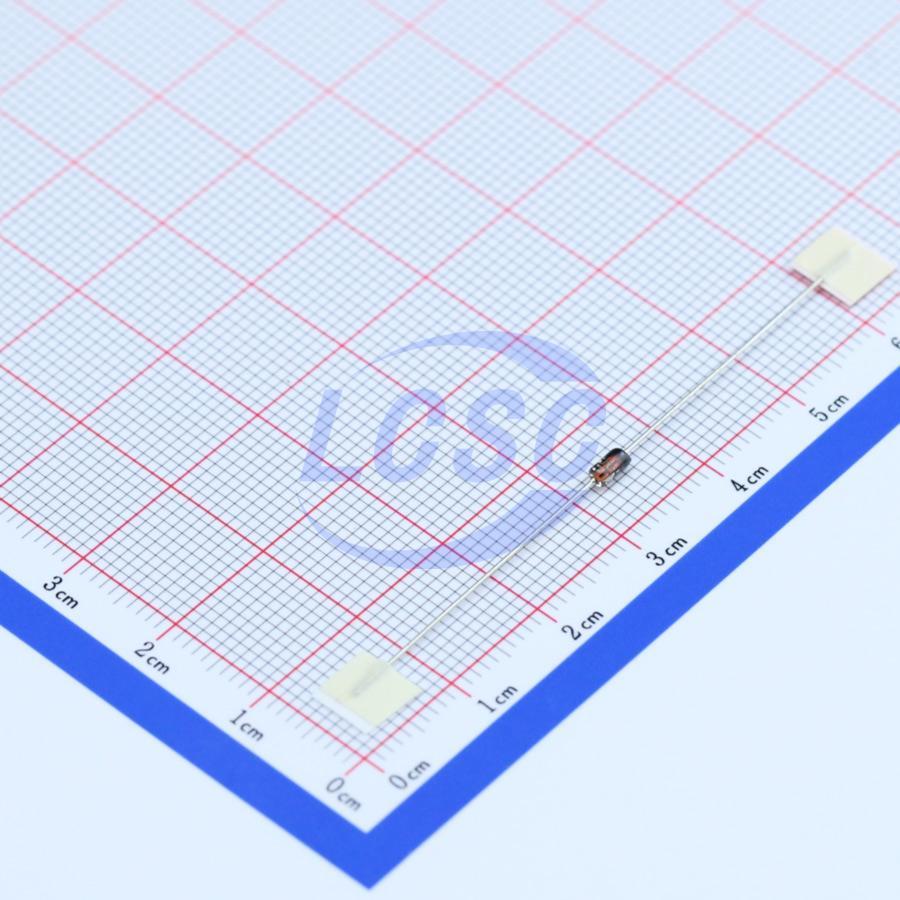 1N4148 diodesone per switch, prevents ghosting61× · $2
- PCB stabilizersMX-style, for 2u+ keys (space, backspace, shift, enter)4× · $3
- USB-C cableone that carries data, not charge-only1× · $3
- Your PCB, fabbedJLCPCB, shipping included1× · ~$10
- 3D-printed caseprinted at home or via a service1× · $5
#What you'll build
- Custom PCB designed for this project
- Case & plate - everything to house your board
- Your choice of switches - linear, tactile, or clicky
- A clean, no-nonsense keycap set
- A USB-C cable to connect to your machine
Then Add your own twist if you want! The crazier, the better. Make it a weird shape, or add a cool feature, or silkscreen! The point is that you know what you want to make, and you can change this along the way.