
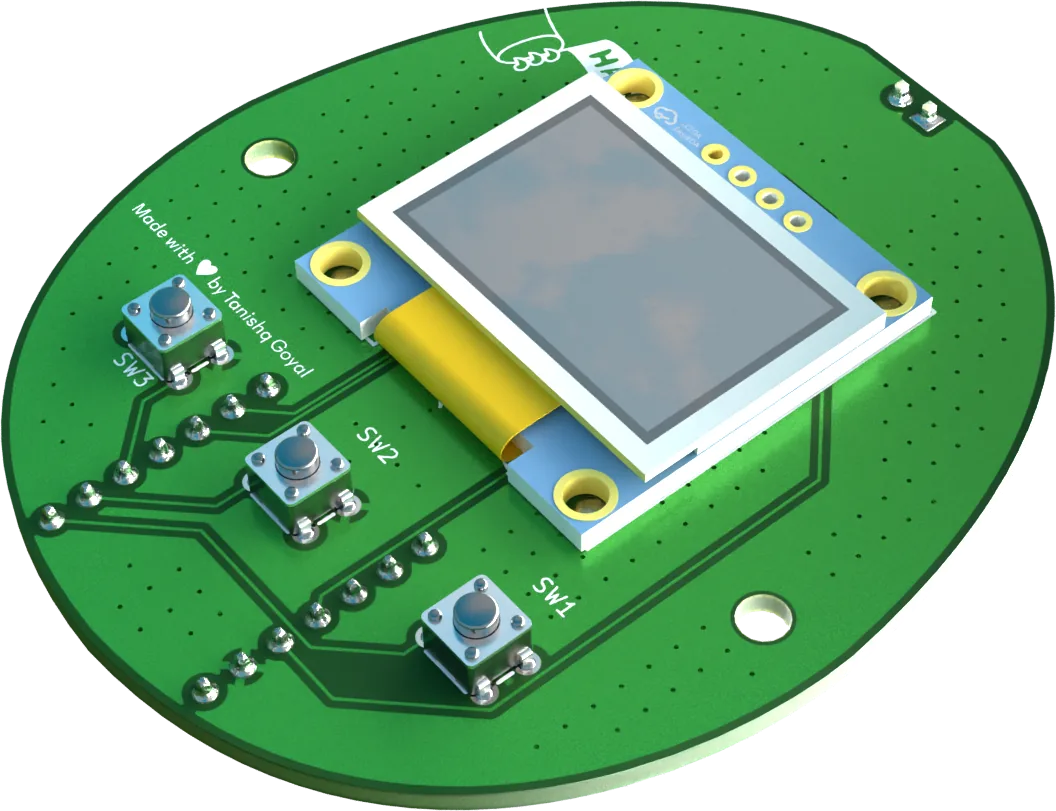


A Tamagotchi you designed yourself: your own circuit board with a screen, three buttons, and a buzzer, in a case you modeled and printed. This guide walks the whole journey - schematic → PCB → fabrication → enclosure - and by the end you'll know KiCad well enough to design boards that don't exist yet.
What you need
~$25 total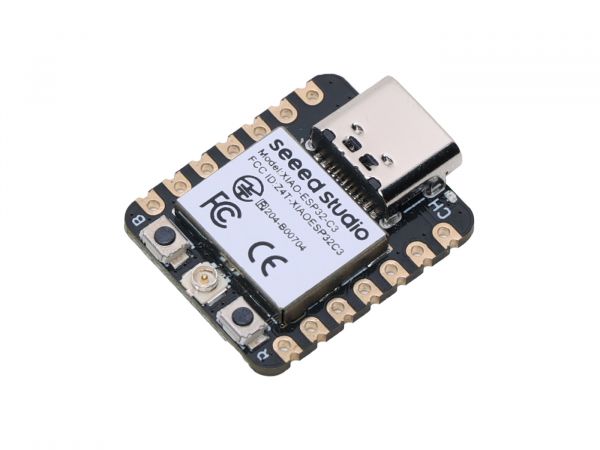 XIAO-ESP32-C3WiFi, BLE, and battery charging built in1× · $5
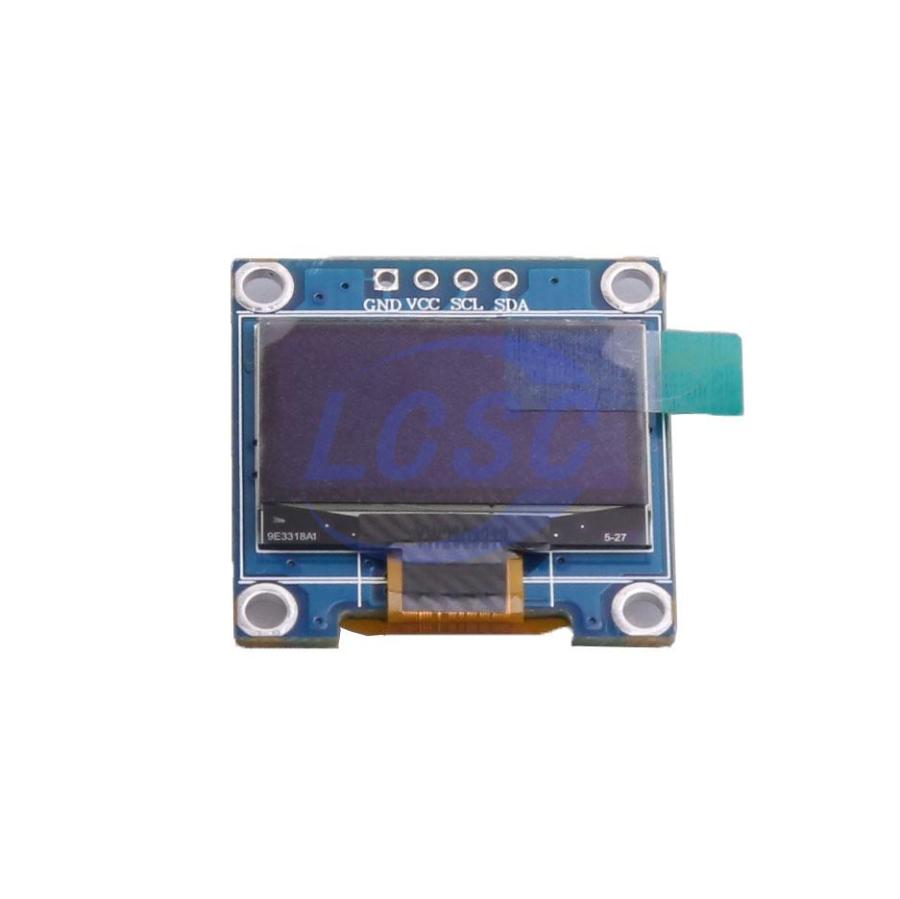 0.96" OLED display (I2C)1× · $2
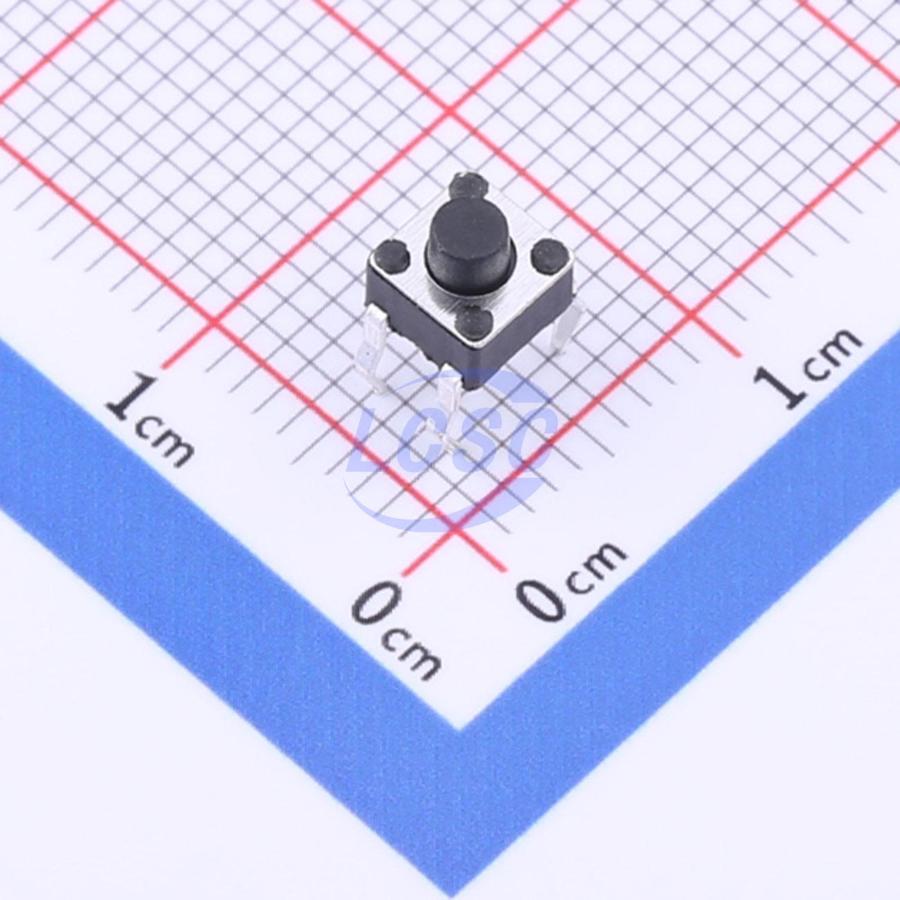 Tactile buttons3× · $1
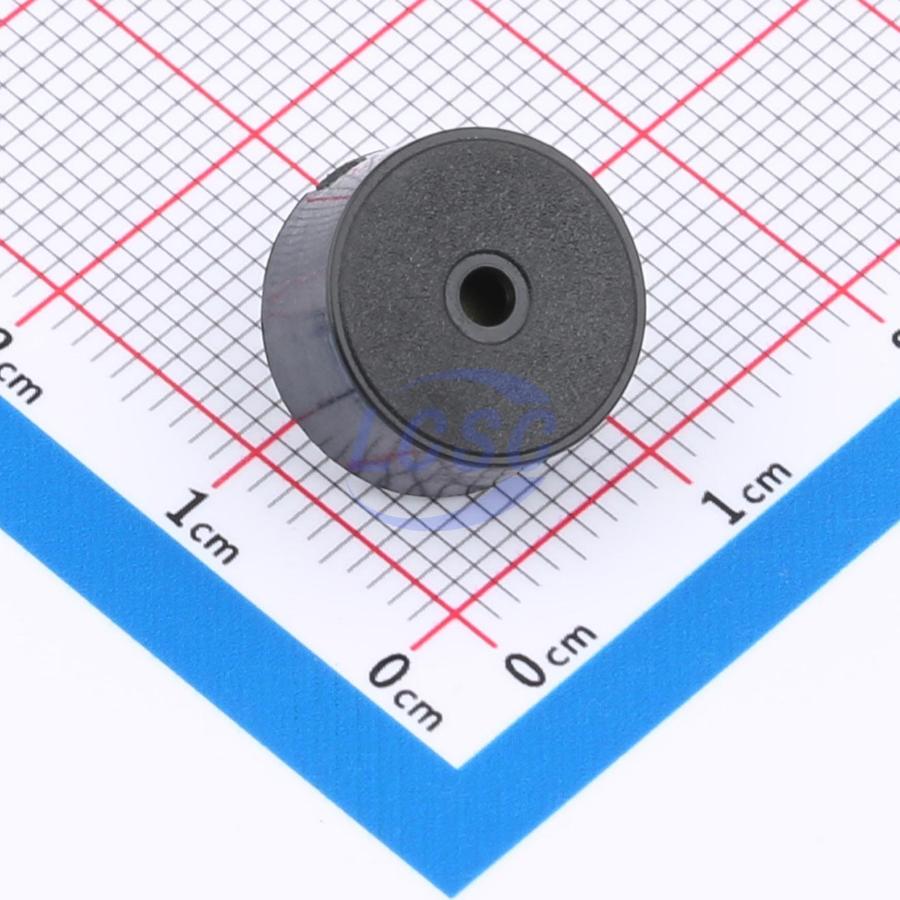 Buzzer (12mm)1× · $1
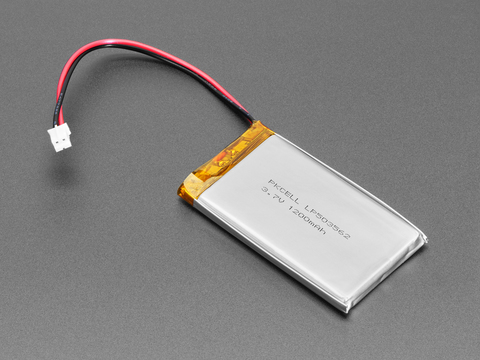 LiPo batterycharges over the XIAO's USB-C1× · $5
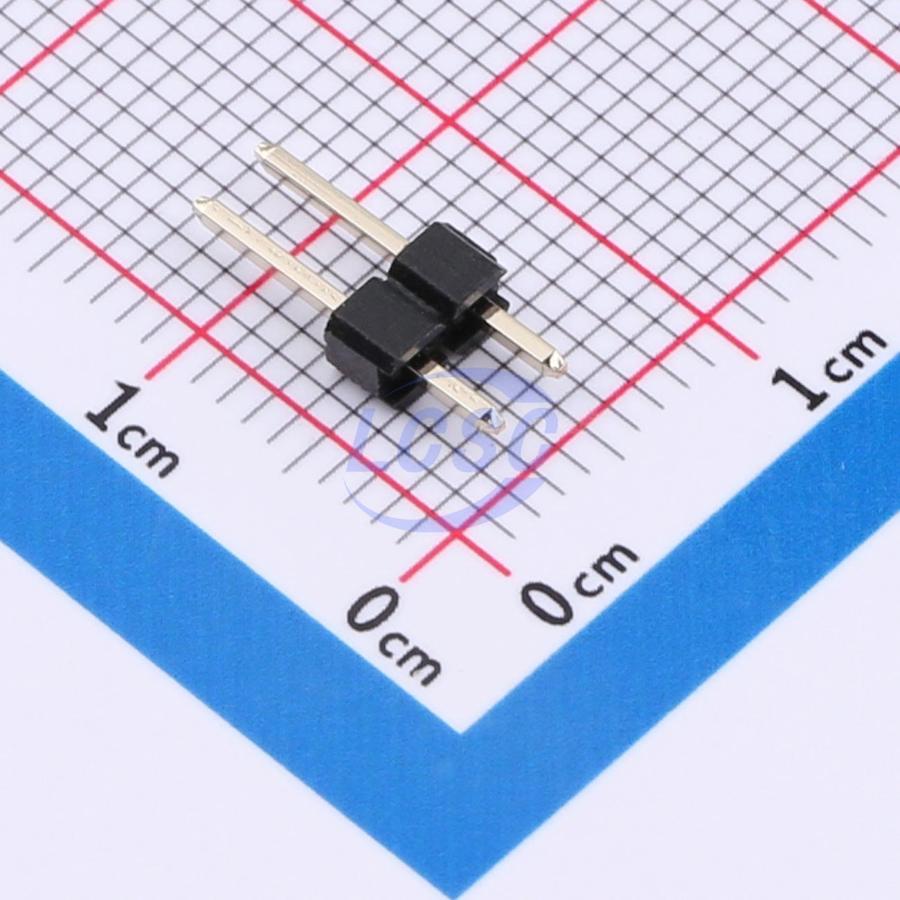 2.54mm male headers1× · $1
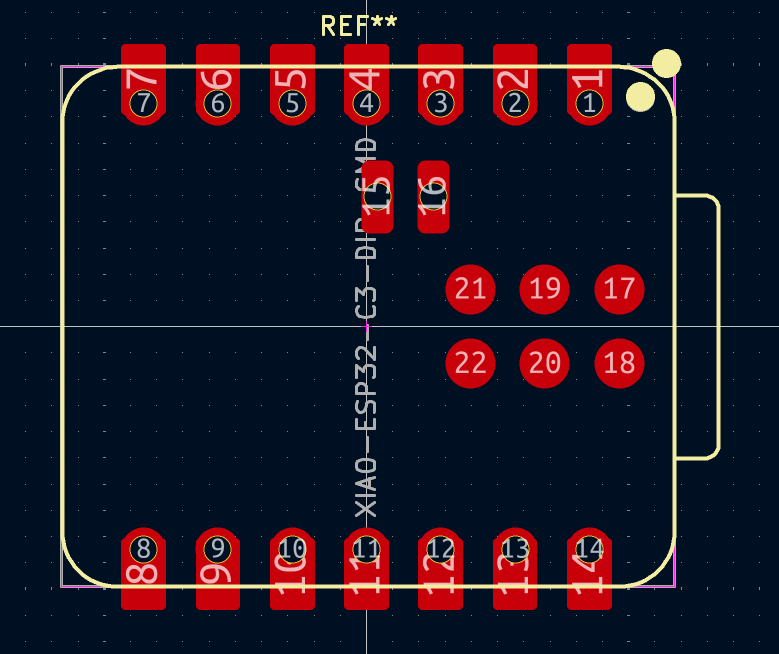 Your PCB, fabbedJLCPCB, shipping included1× · ~$10
The XIAO-ESP32-C3 is the MCU - the tiny computer that runs your code and drives everything else. It wins here because it's affordable, has WiFi and BLE built in, and includes onboard LiPo charging, so no external charger chip is needed. (If you don't need wireless, the RP2040 is a great pick with excellent documentation; the nRF52840 is the go-to for low-power BLE.)
Design is an iterative process - the original build took 20+ hours of adjusting to look this pretty. That's normal, and you're not alone: the #fallout channel on the Hack Club Slack is there when you're stuck.