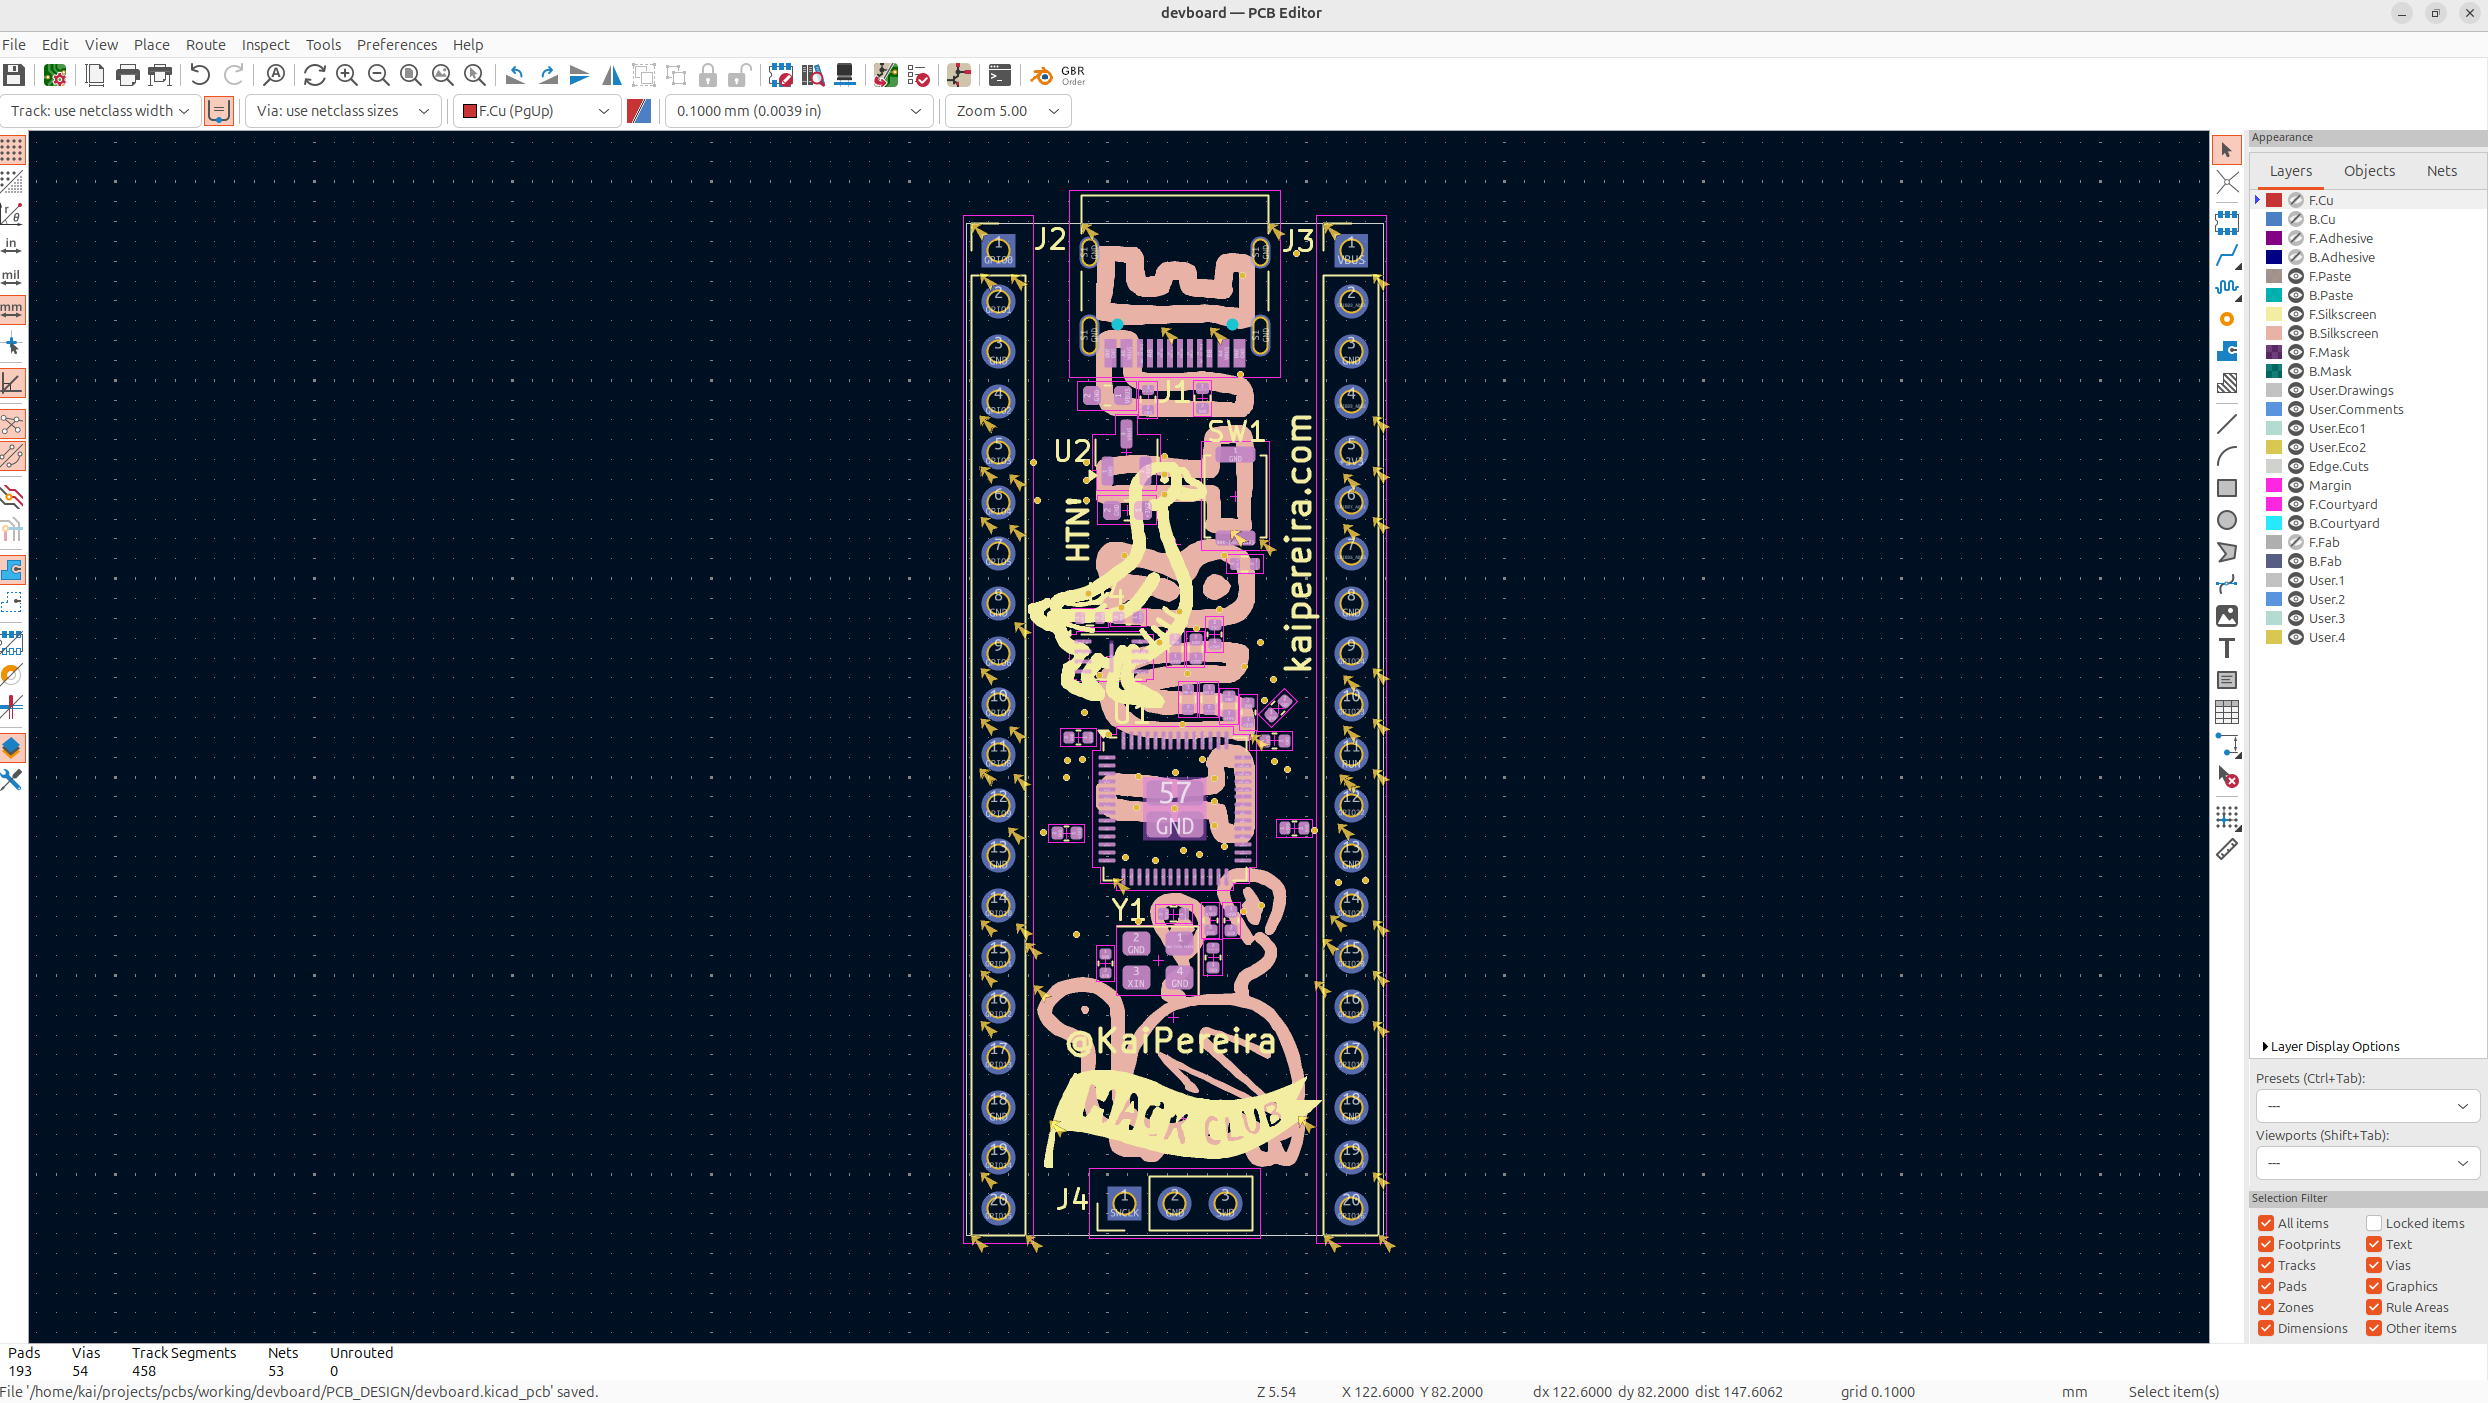
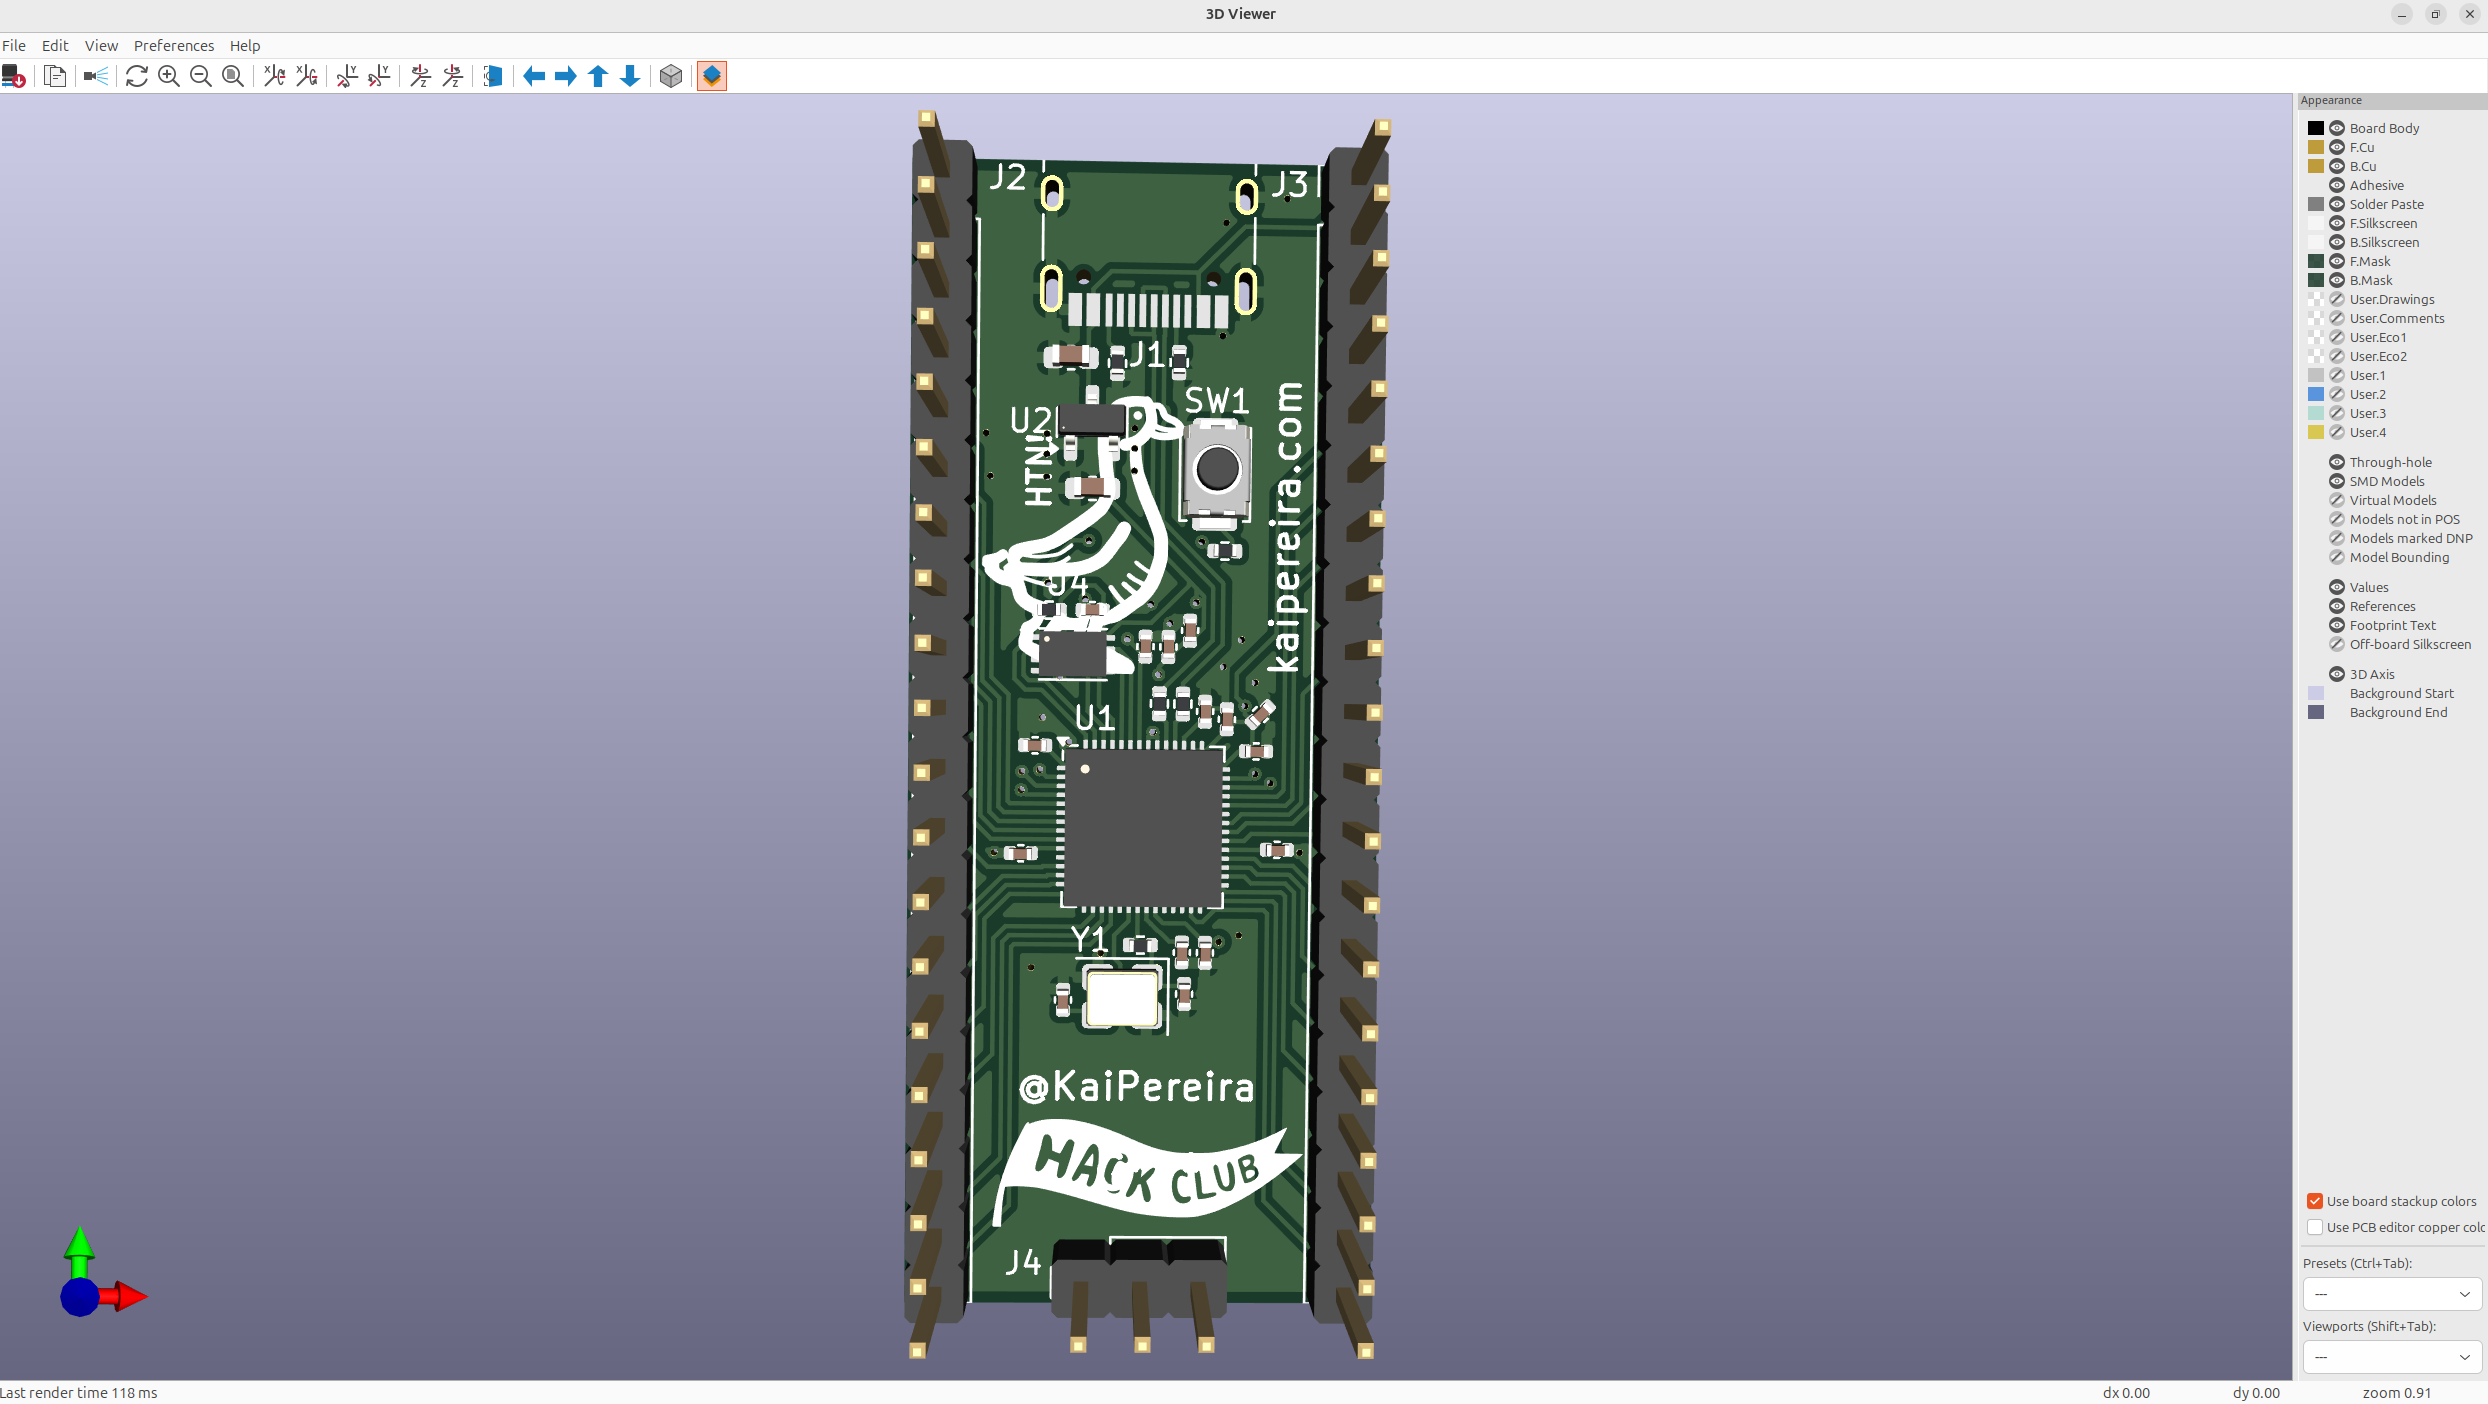
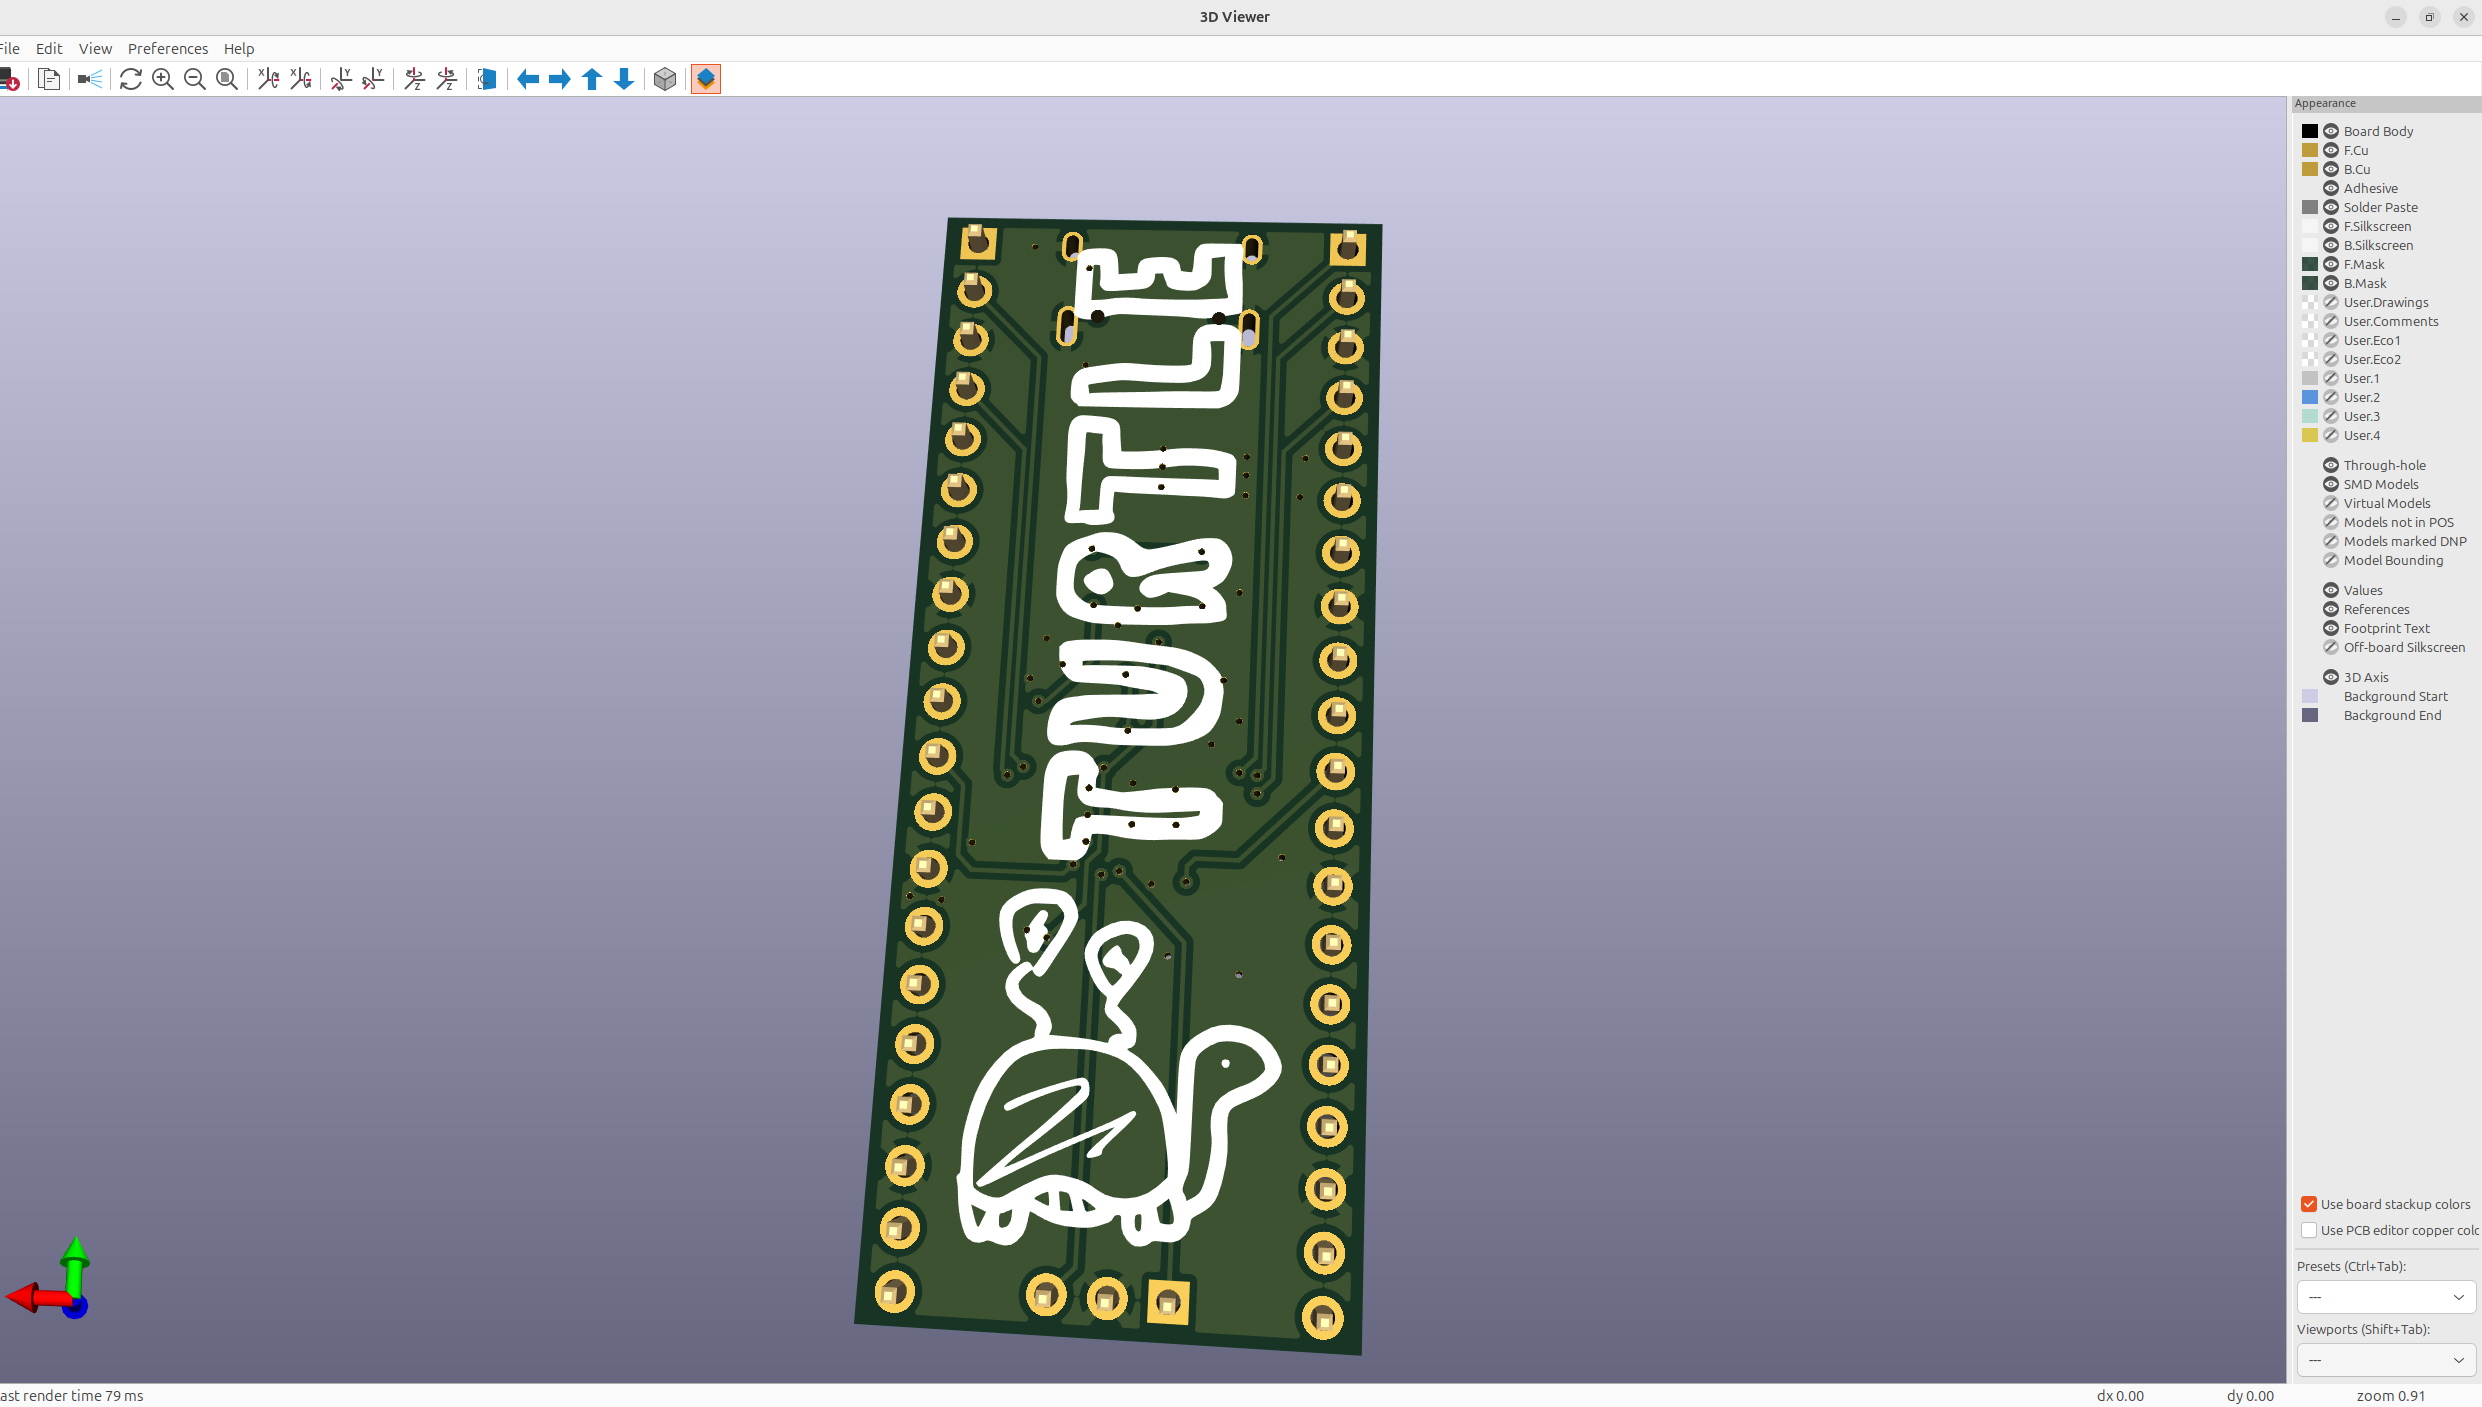
Now before we get all excited, let's polish up our PCB a little bit! We're going to do this by modifying what's called the silkscreen, this is all the white stuff you see on the PCB, it's purely decoration and used to show where components should go when soldering, and also to label stuff, and you can make art with it.
#Tidy the reference designators
-
But before we get to make the art, let's move all the labels on our PCB to look nice and organized! Now the capacitors and stuff aren't too useful to us, so we can delete those silkscreen labels like "C#" or "R#", and just leave the important ones for the connect, the pi, etc.
-
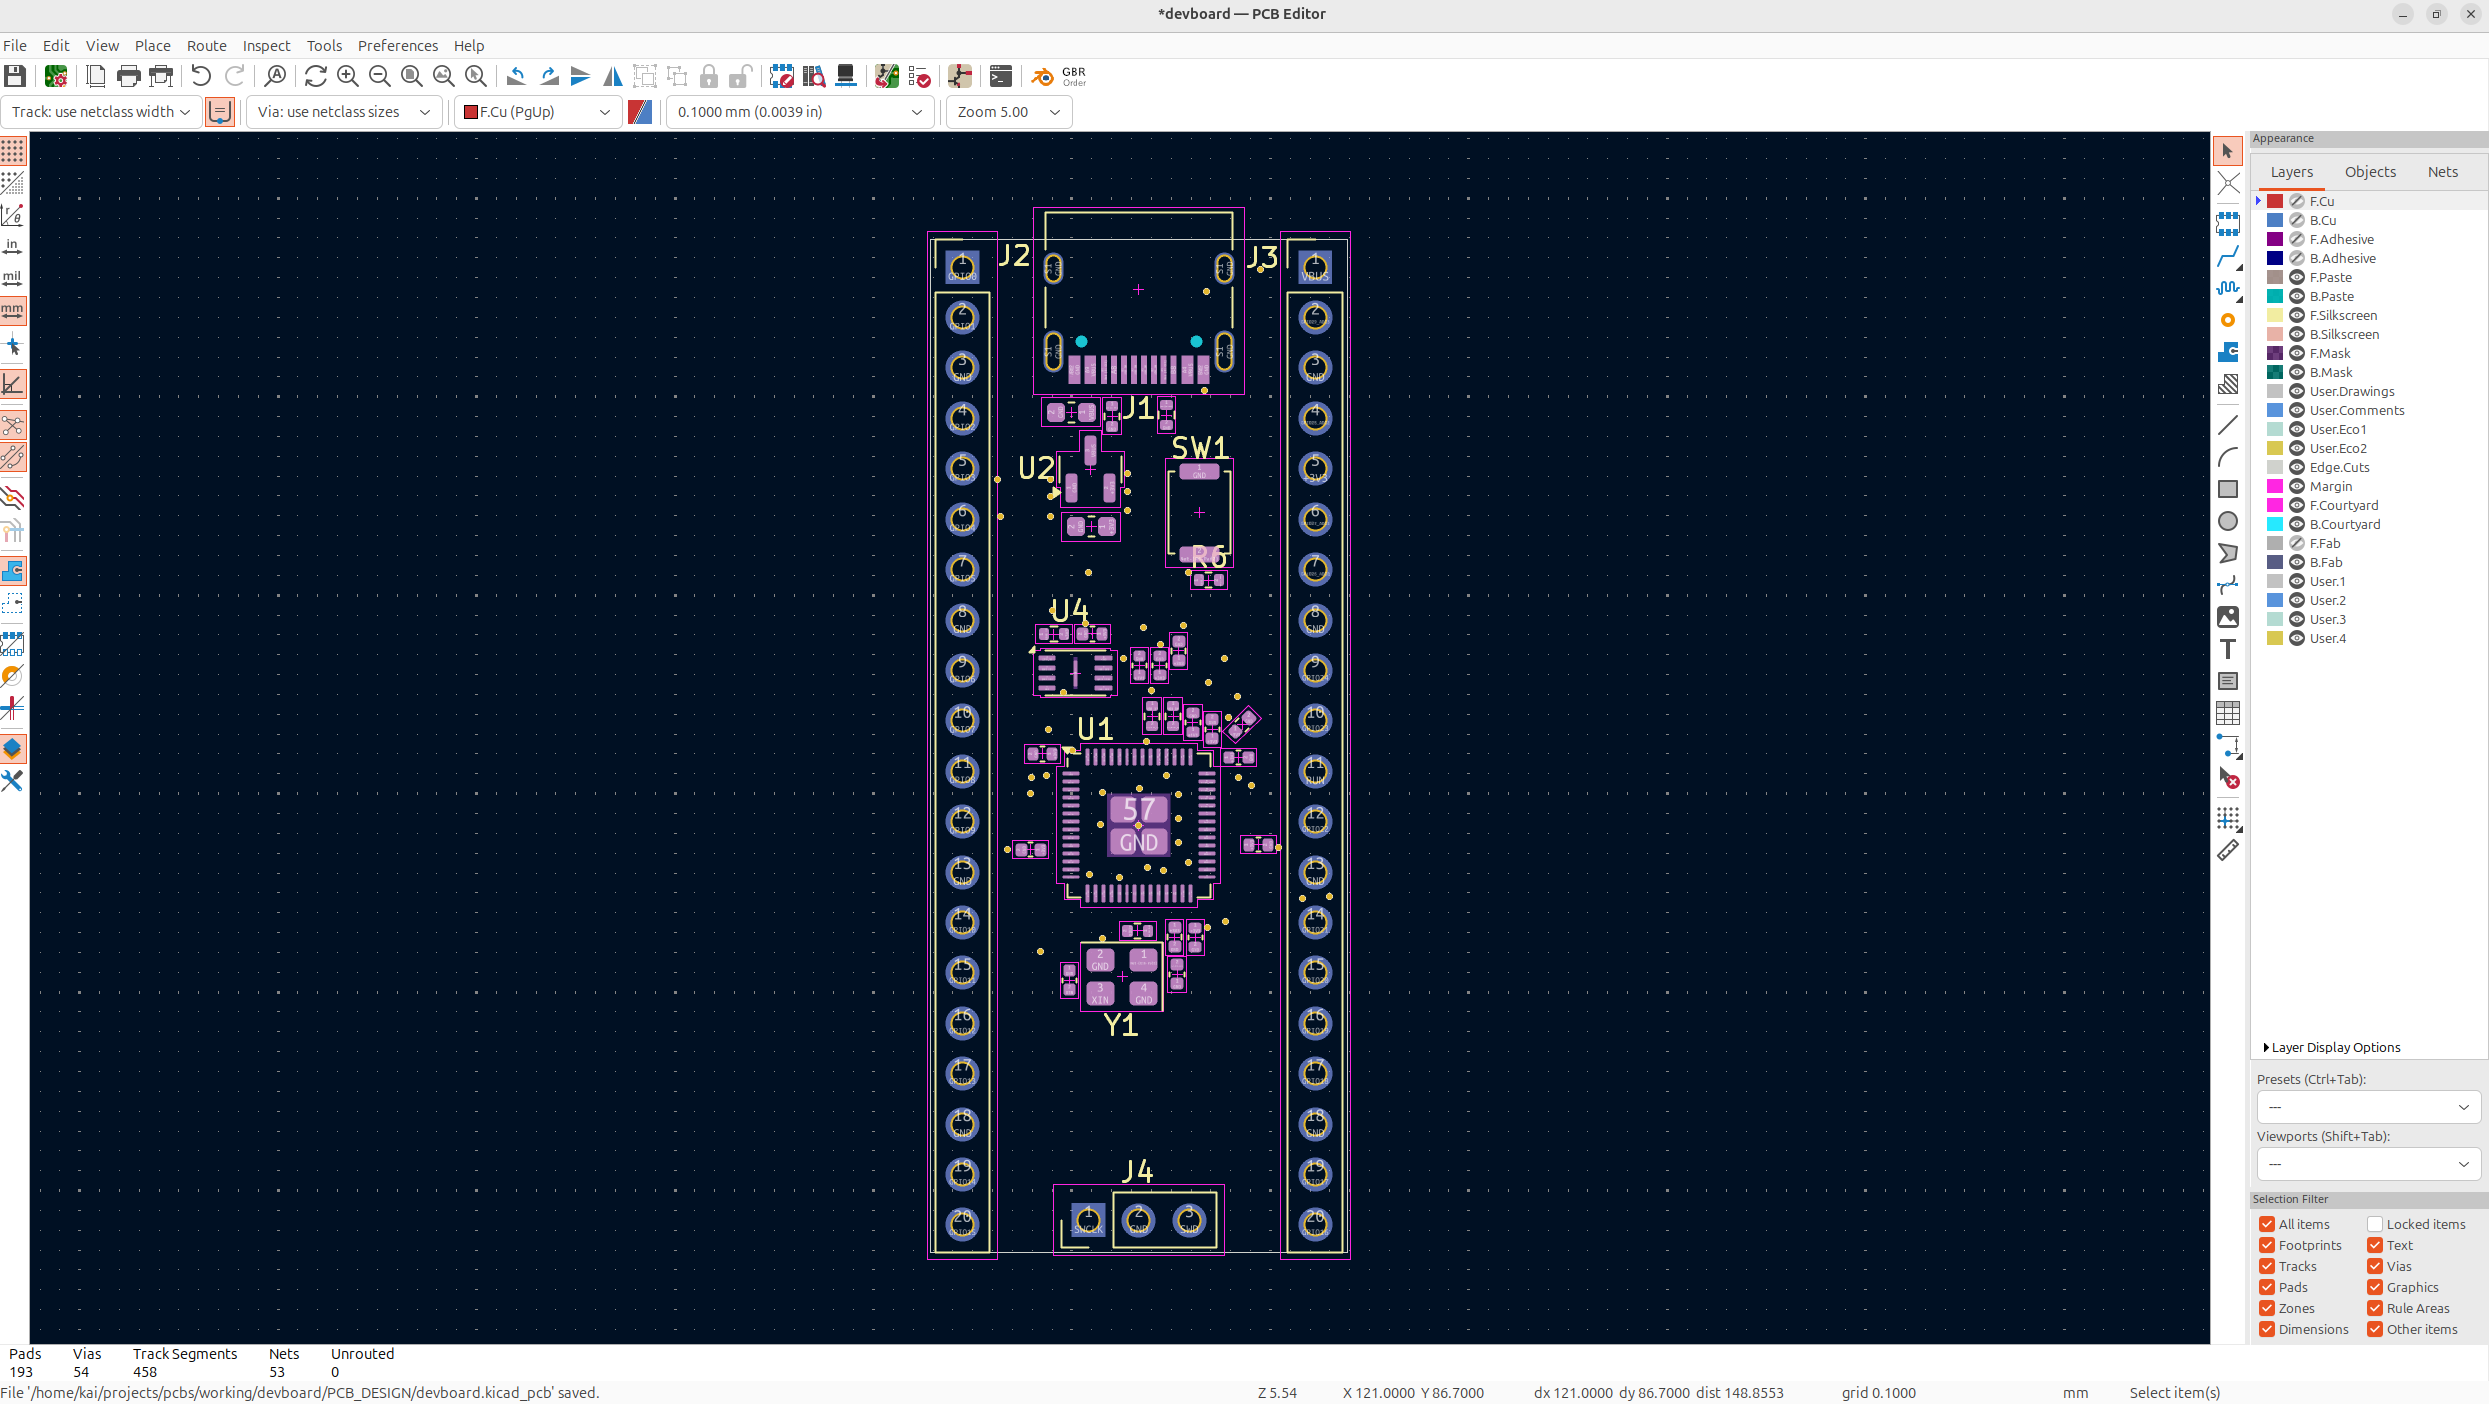
I'd suggest hiding some layers to make it easier to see, so delete all the stuff we don't want, and organize the stuff we do want (You can also hide the fab layer for now, but there's no need to delete that stuff, it won't be on your PCB):
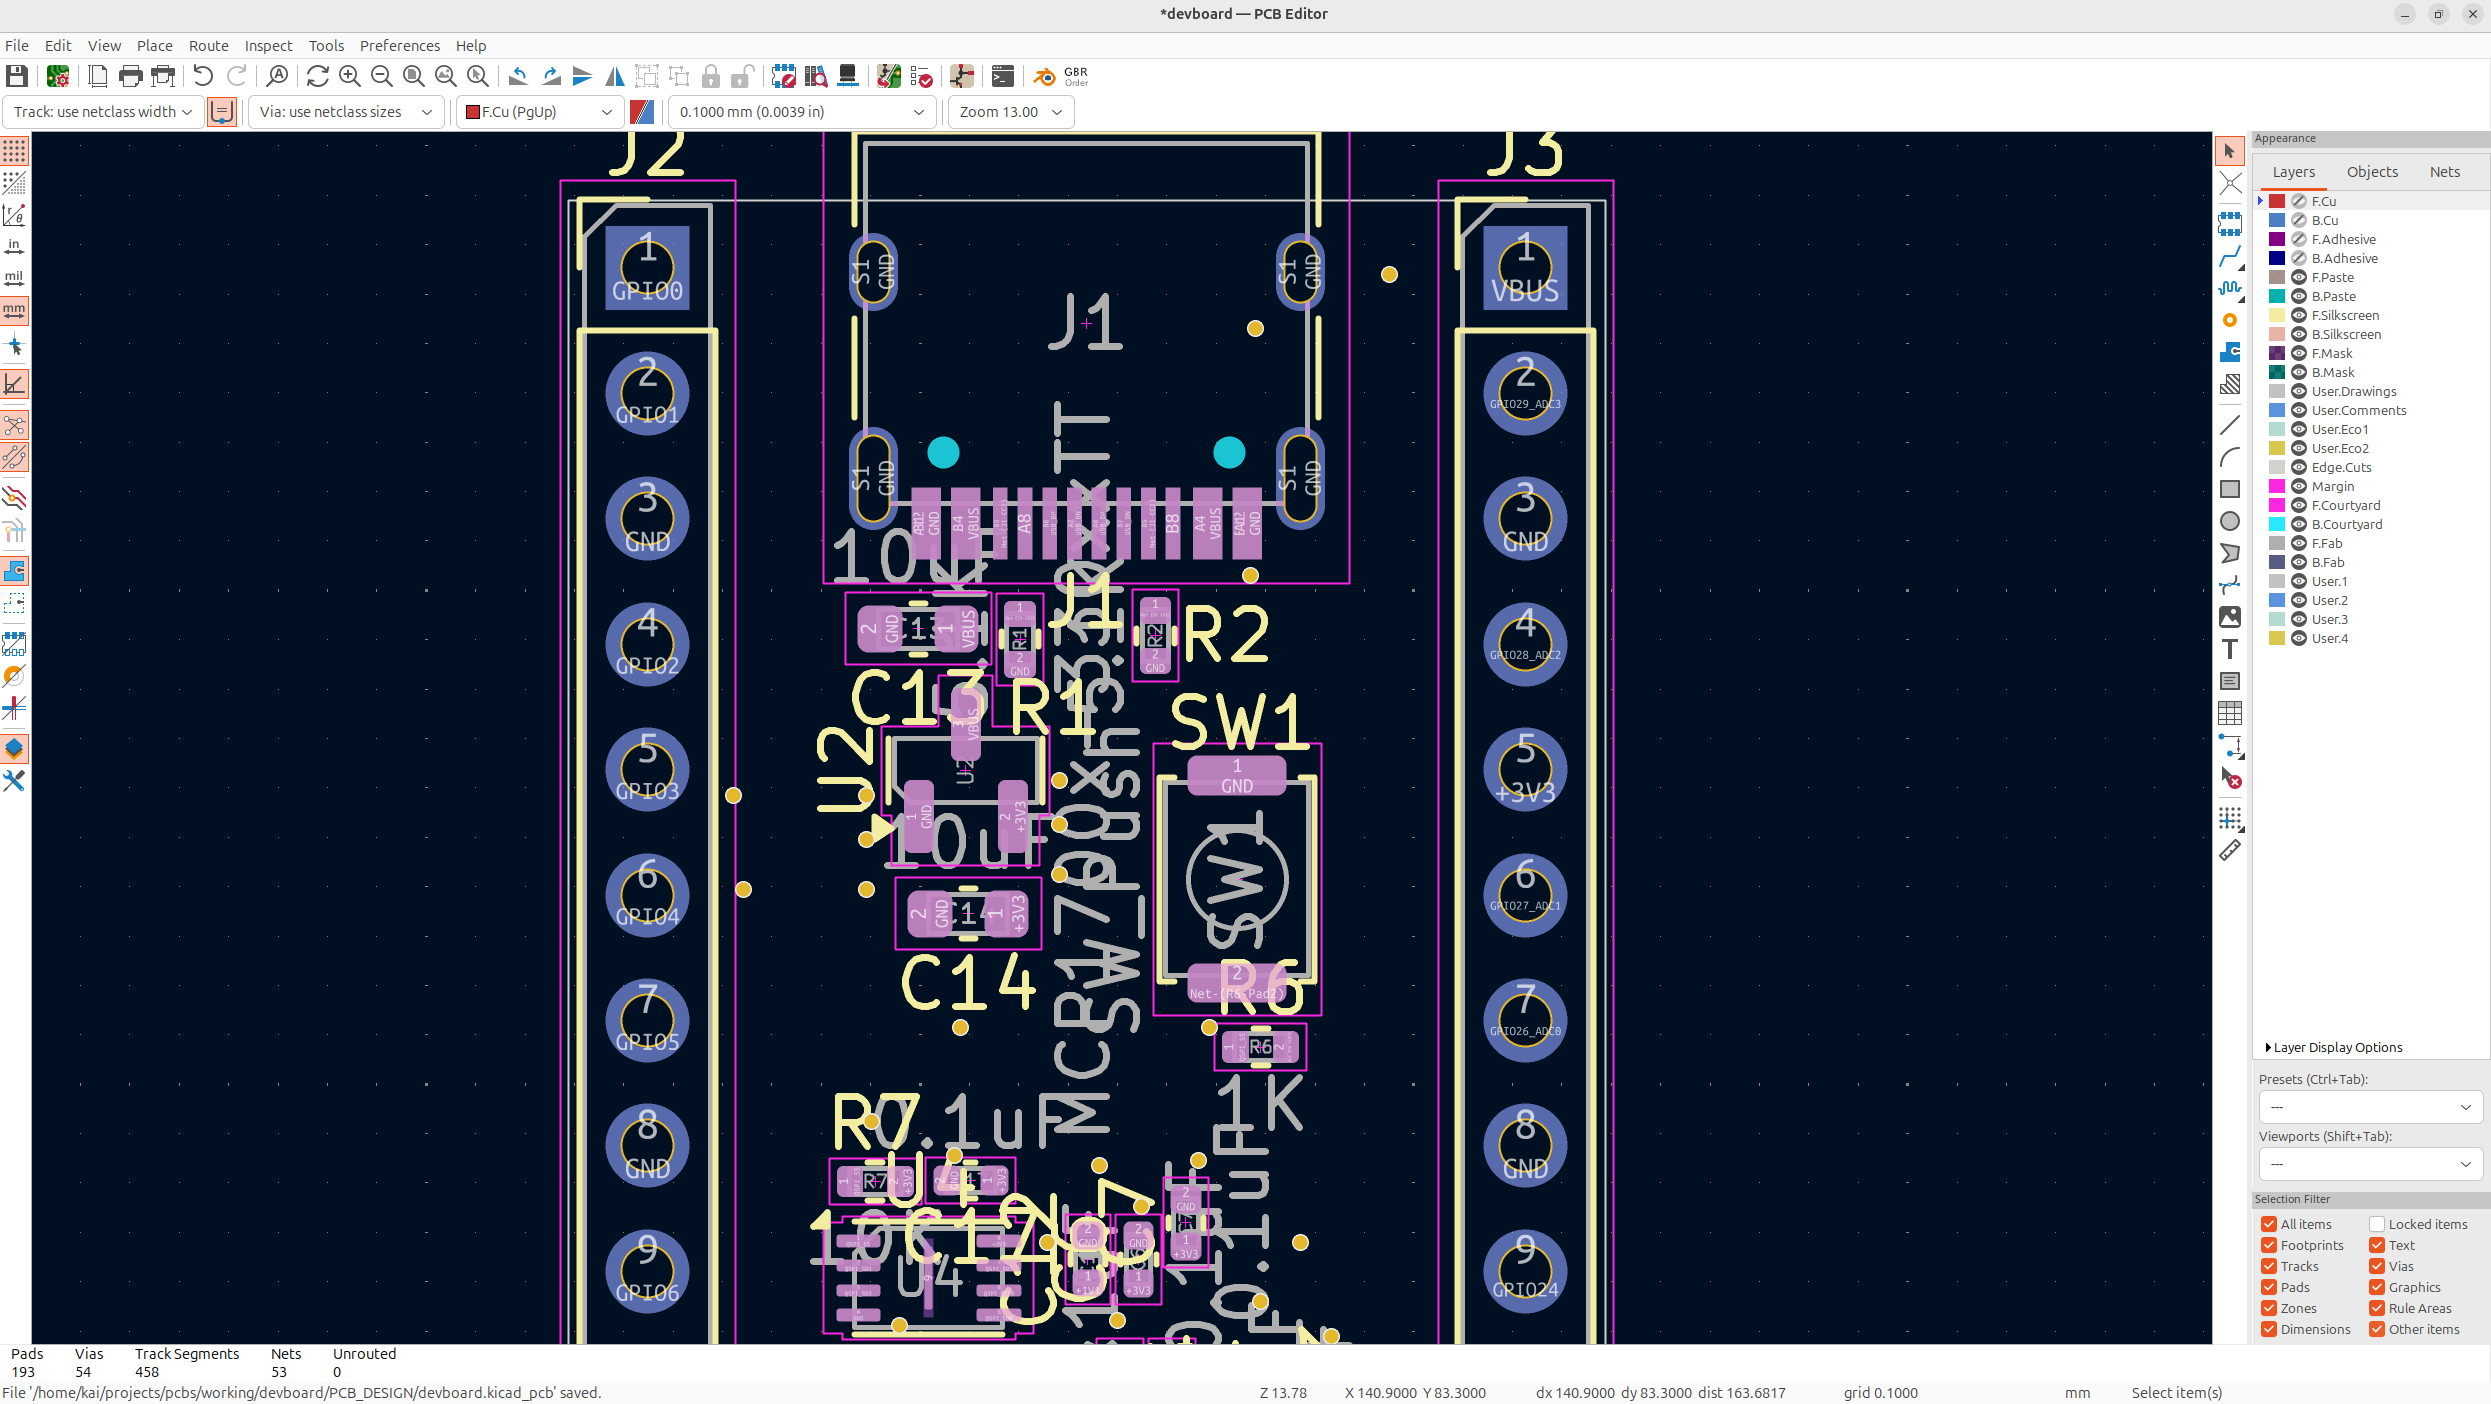
-
This is how mine looks when done:
#Add your art
-
Now, let's add our own art! Try out the KiCad image converter, and also add some text and stuff to your PCB. I personally like to add things like my website, github handle, favorite animals, anime, whatever you want really.
-
I personally use excalidraw to draw my art but you can do whatever: