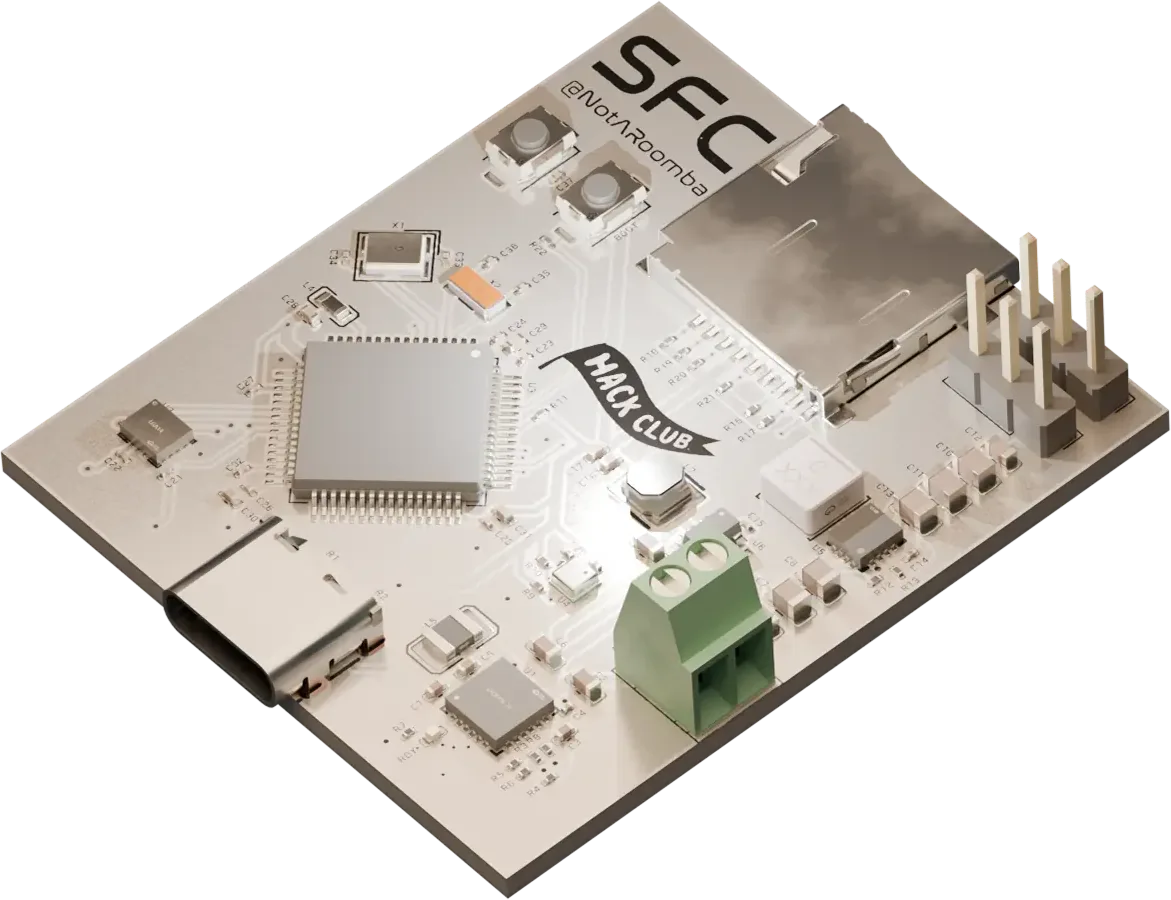

This is an advanced project. I recommend learning the basics of KiCad by making a small dev board or breadboard first. That said, anyone can follow along, as I'll go in-depth on how to build a flight controller.
I'm @NotARoomba and I have a (sort of) obsession with making flight controllers so heres a guide so that you too have the knowledge of making something cool. The files for this guide can be found here.
First, define what type of flight controller you want: for a rocket or a drone? Keep that in mind when starting your own design. In this guide, we'll build a flight controller specifically for rockets.
What you need
~$50 total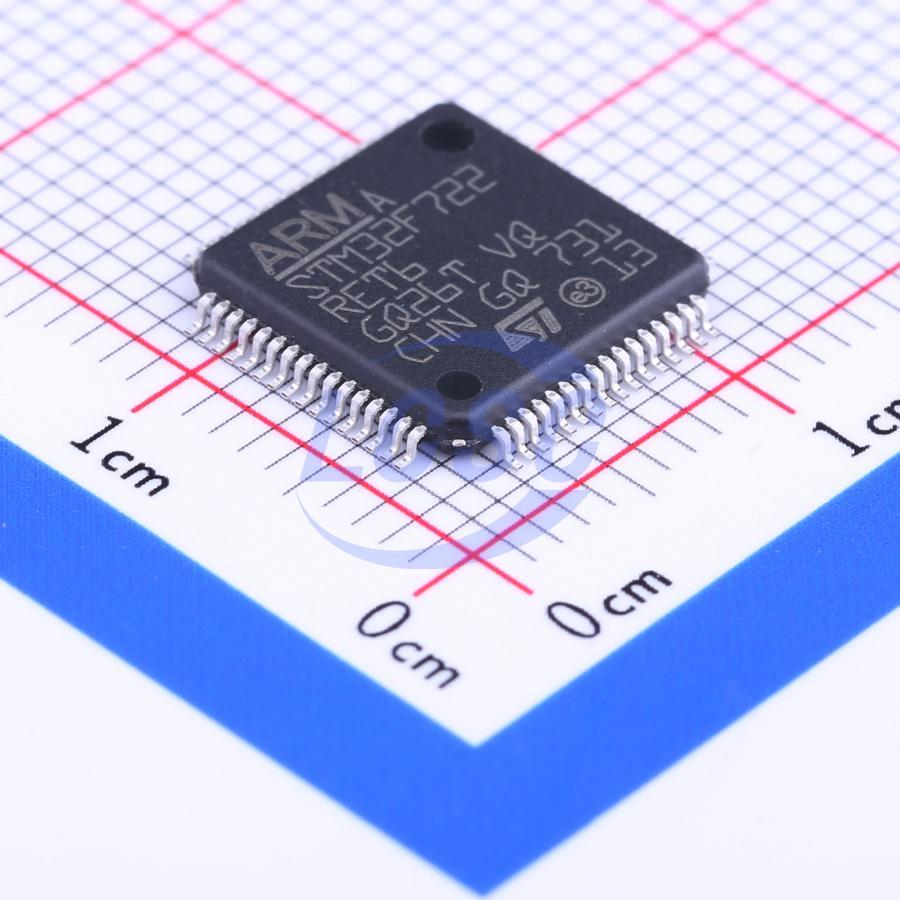 STM32F722RET6 MCUhigh clock speed, lots of peripherals1× · $8
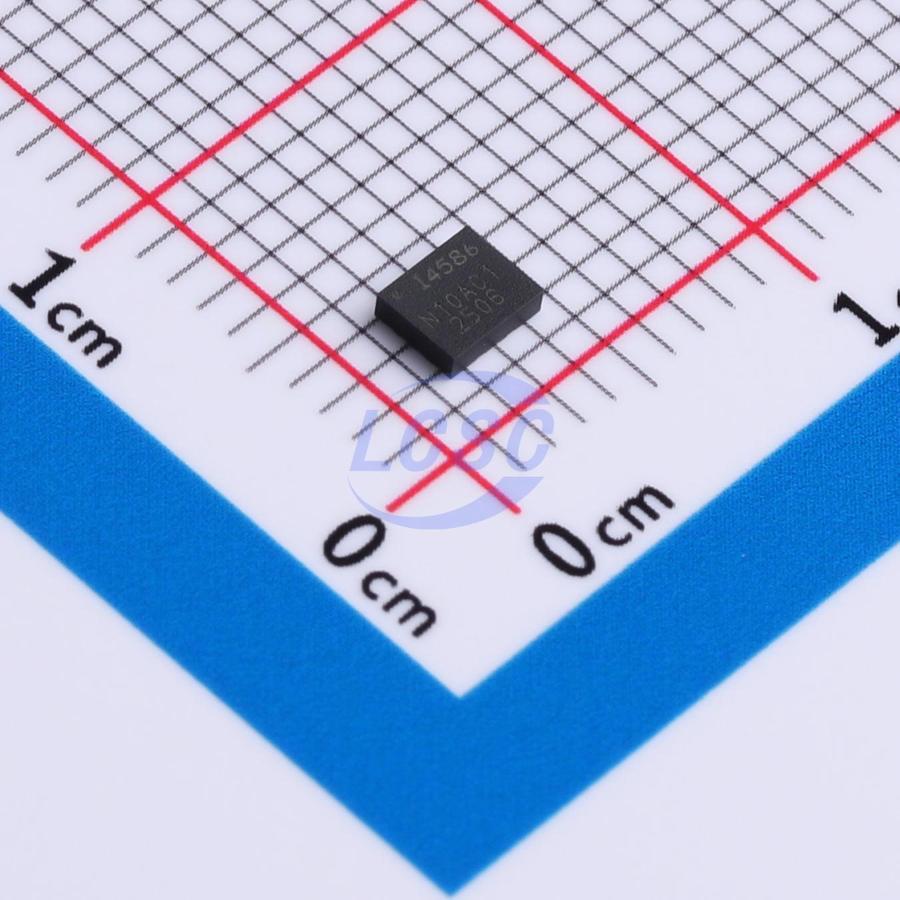 ICM-45686 IMUrobust 6-axis, SPI1× · $5
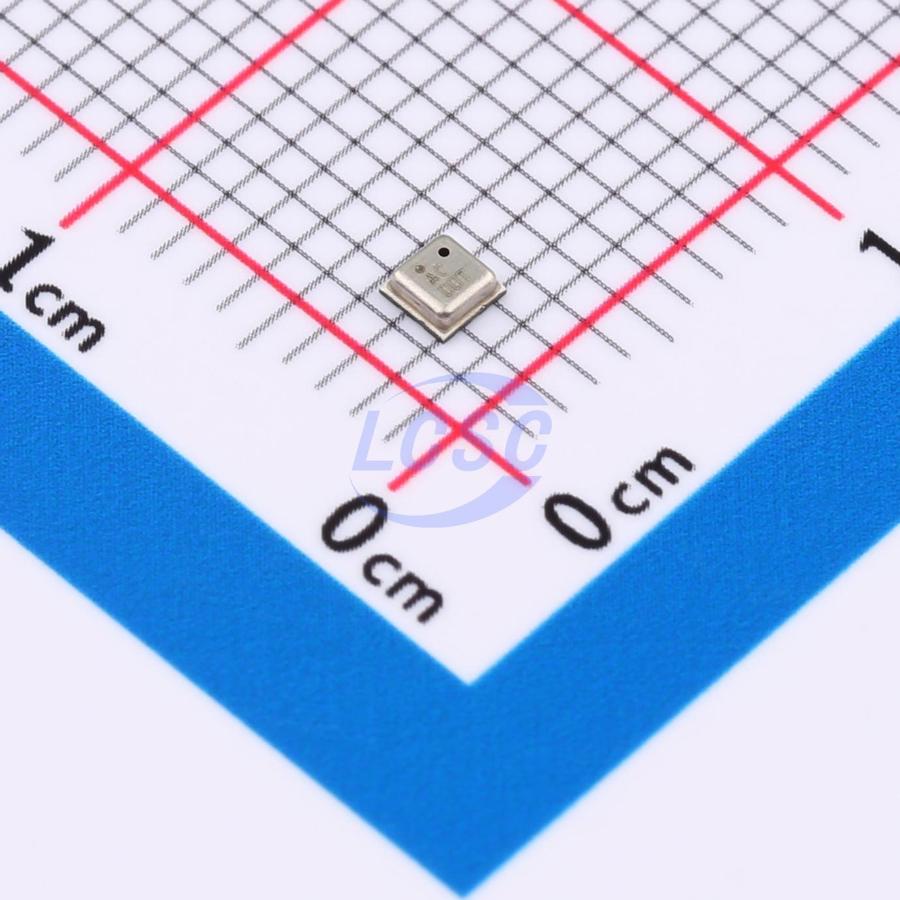 BMP580 barometeraltitude via pressure, I2C1× · $3
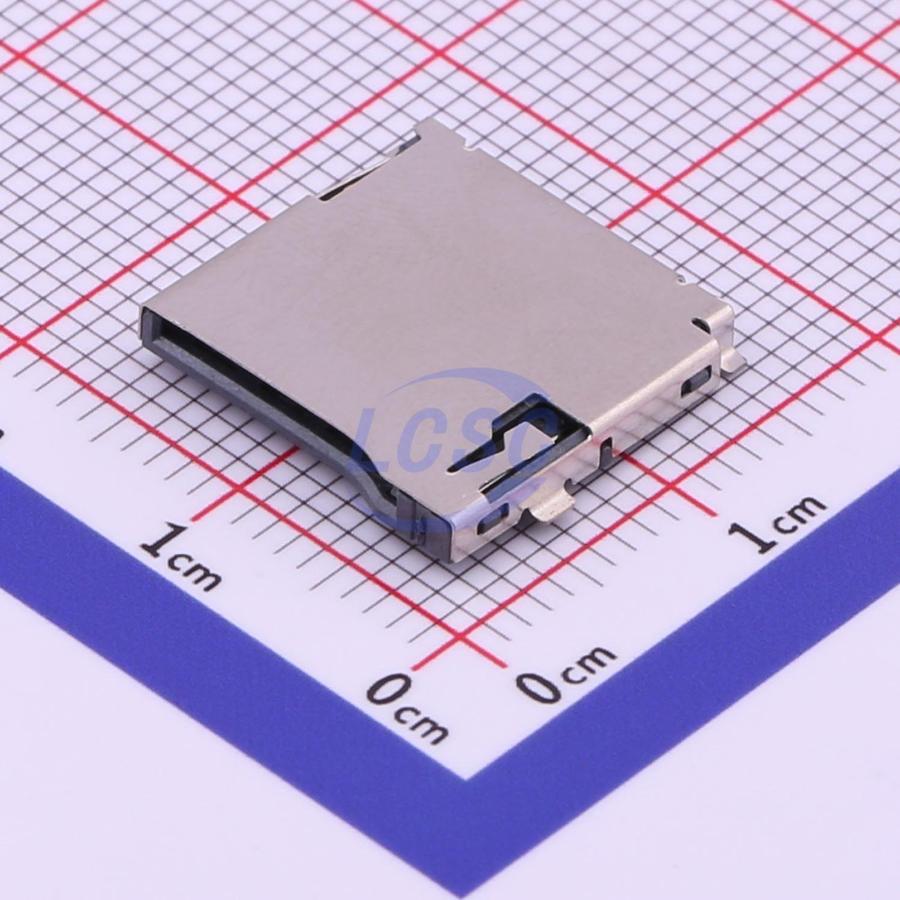 microSD slotTF-01A, for flight logs1× · $1
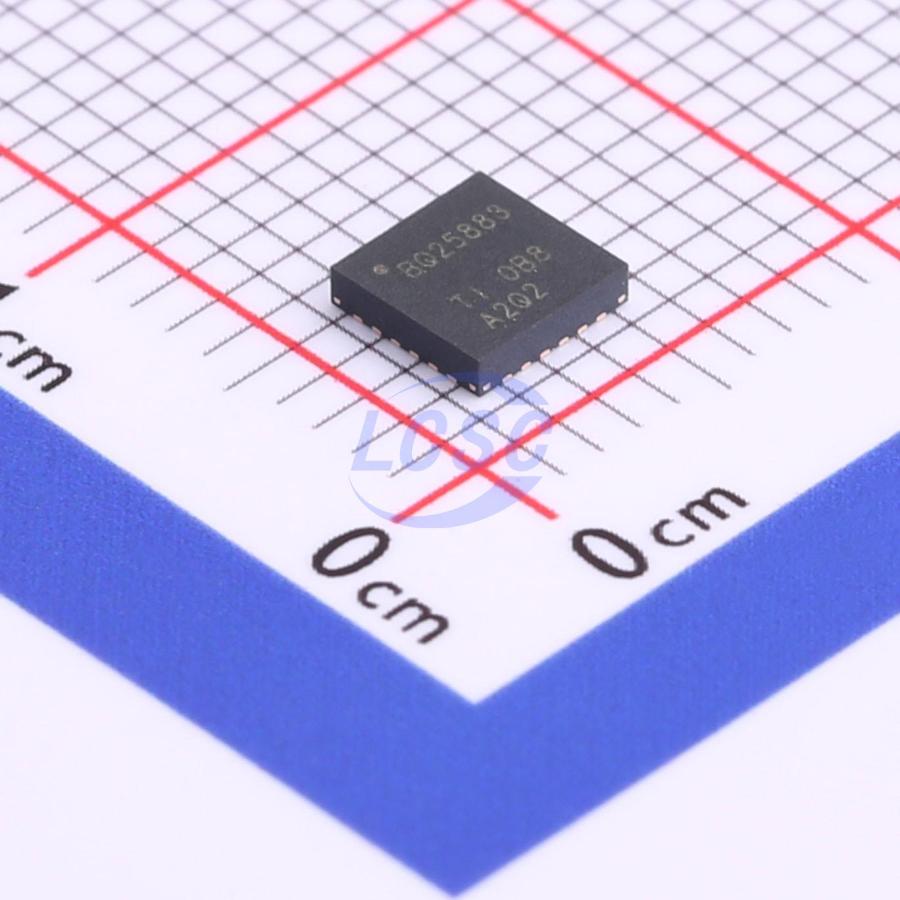 BQ25883 battery charger2-cell Li-Ion/LiPo, charges from 5V1× · $3
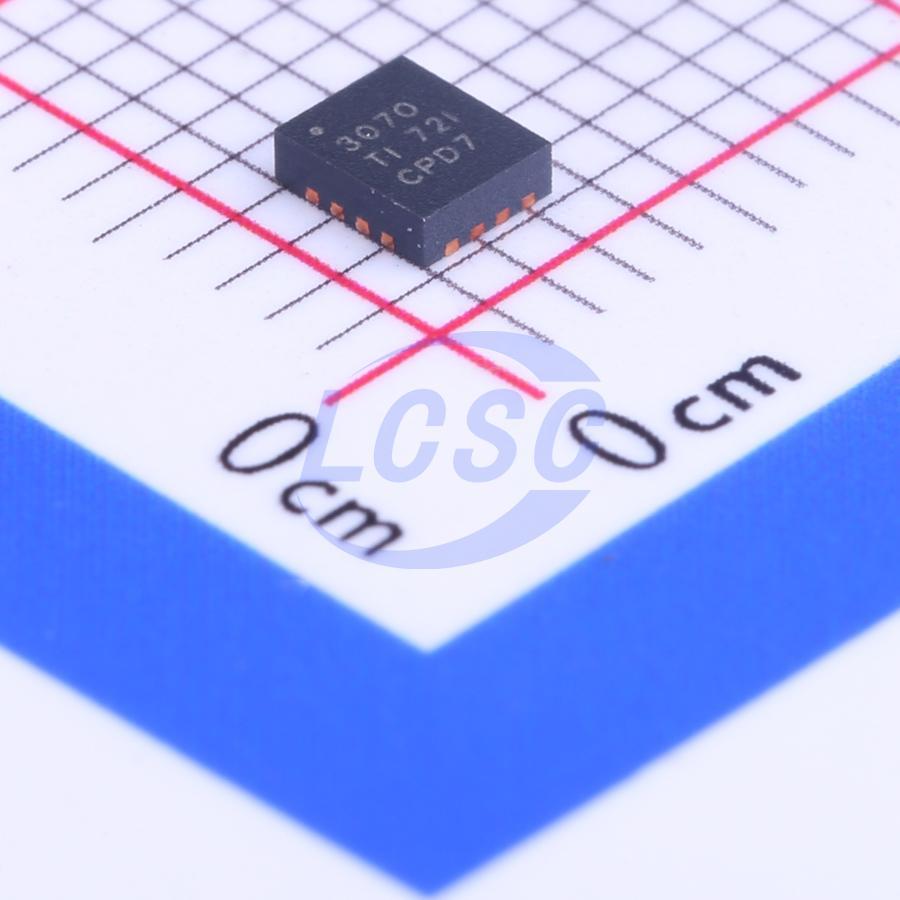 TPS63070 5V buck-booststeady 5V for servos across battery voltage1× · $4
- LMR51430 3.3V buckhigh-current 3.3V for MCU and sensors1× · $2
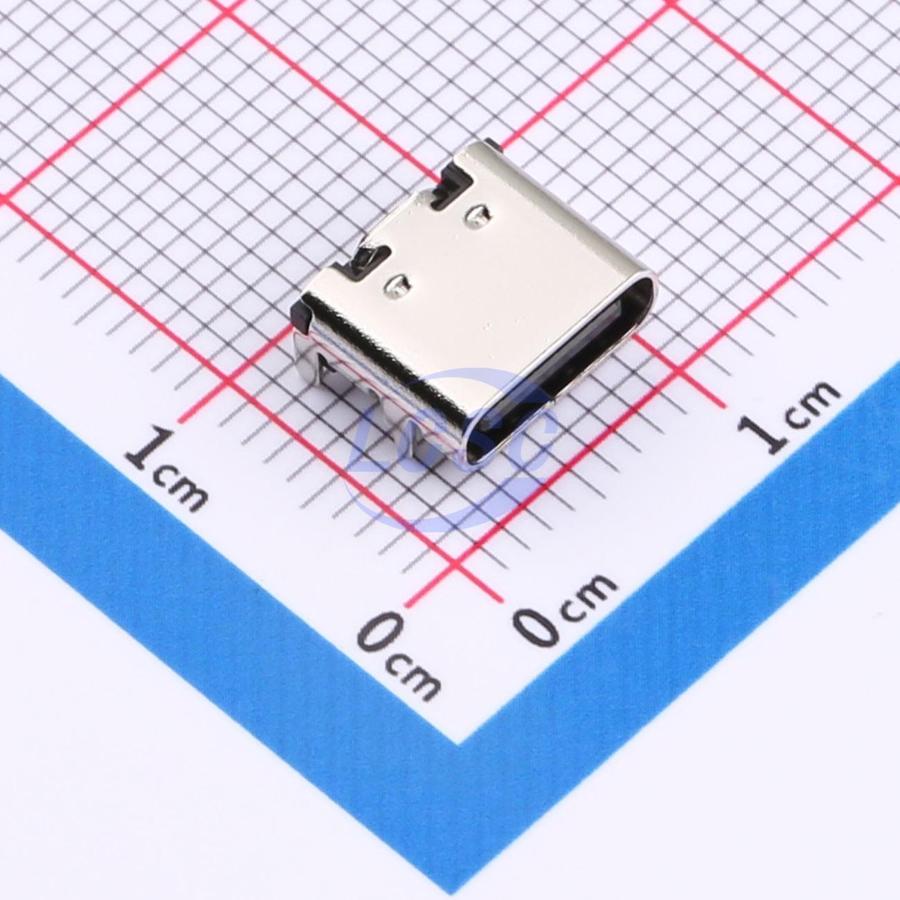 USB-C receptaclefor programming and charging1× · $1
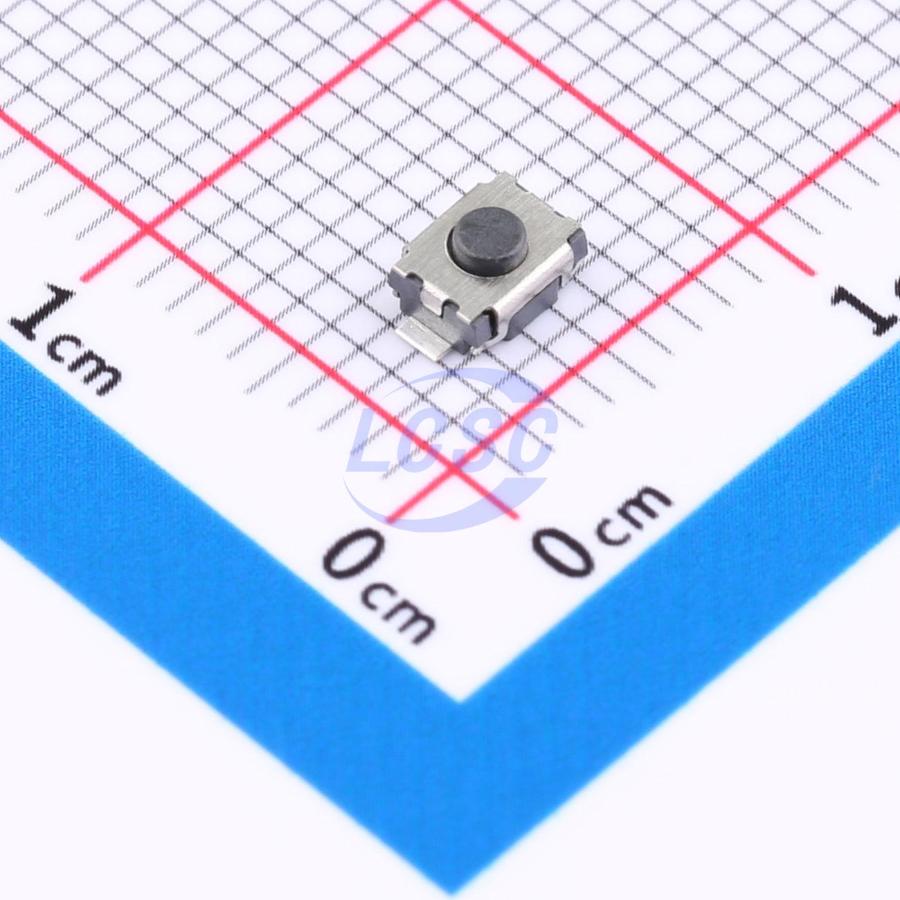 Boot / reset buttons2× · $1
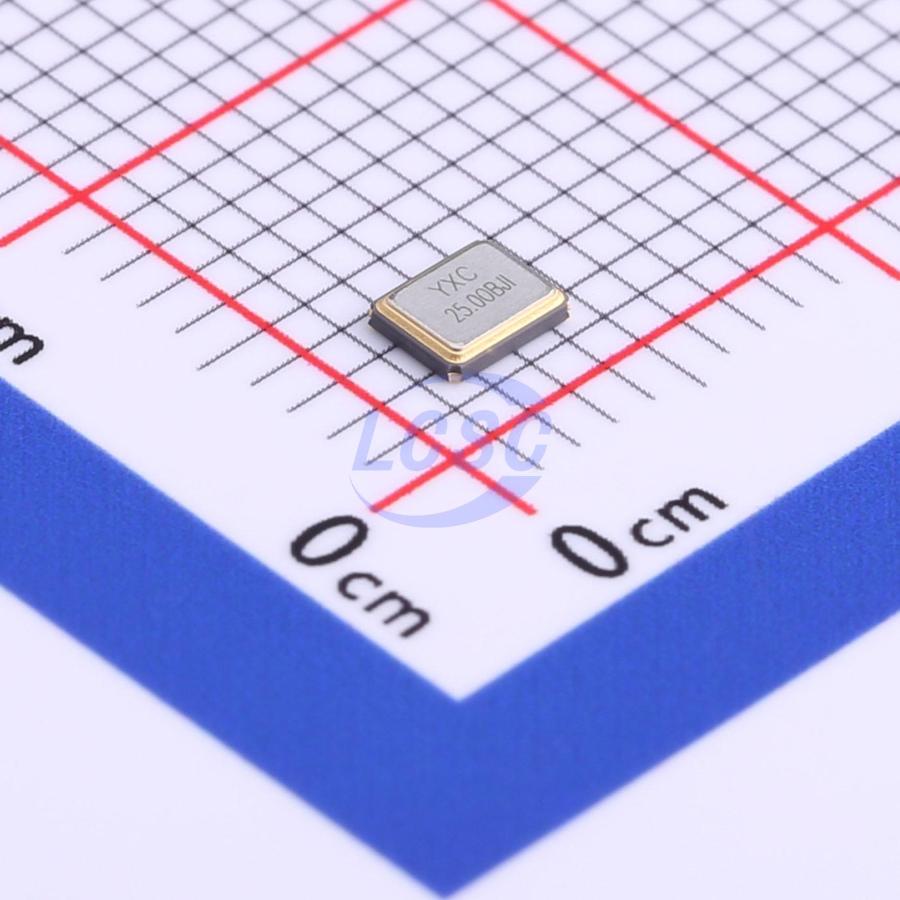 25 MHz + 32.768 kHz crystalshigh-speed clock + low-speed clock2× · $1
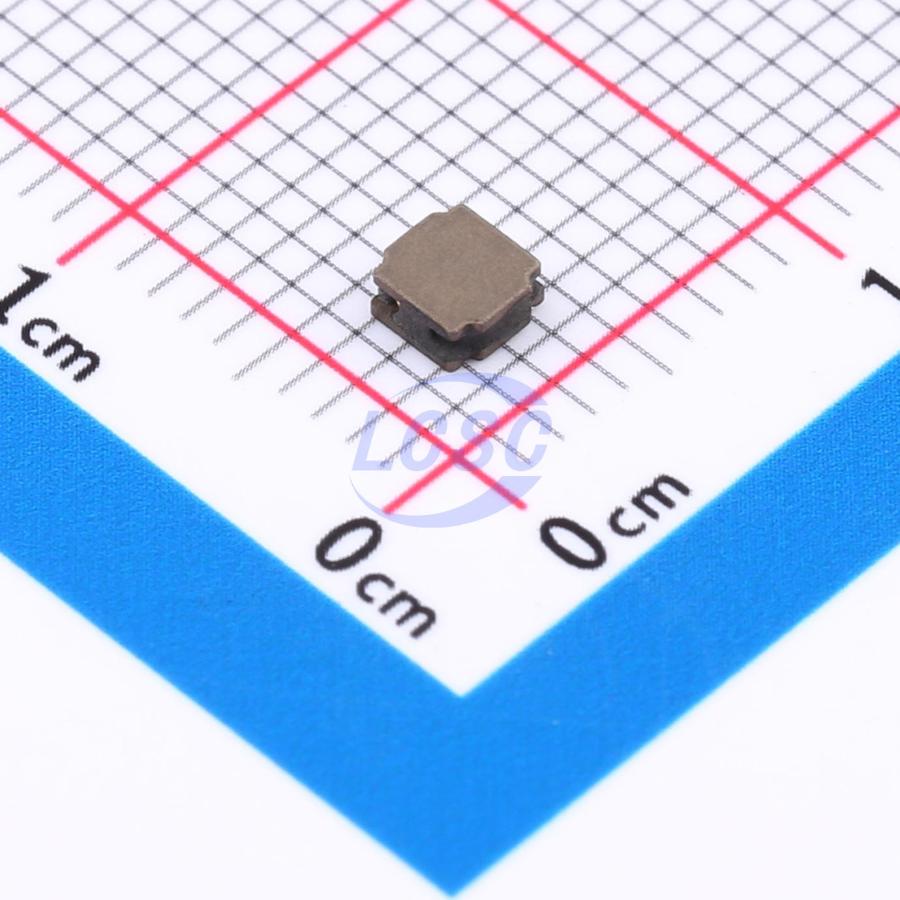 Inductors, ferrite bead, passivesfrom lcsc.txt in the source repo1× · ~$3
- 2S LiPo battery + connector7.4V nominal, screw terminal on the board1× · $8
- 3-pin servo headers5V / PWM / GND3× · $1
- Your PCB, fabbed with PCBAJLCPCB, one-sided, order 21× · ~$10
#Set up the repo and KiCad project
-
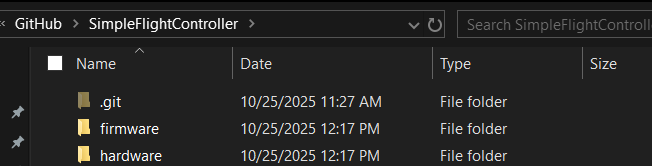
Create a new repository on GitHub and add two folders:
hardwareandsoftware. These folders will hold most of the project files. -
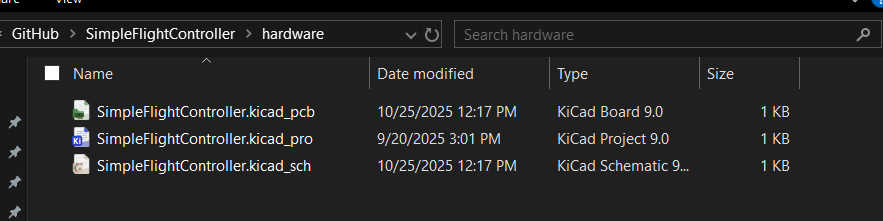
Create a new KiCad project inside the
hardwarefolder.